With many thanks to Laurie Spray (http://bonnydoonfusedglasstools.com/) I have learned something new. I hope my experience can help someone else struggling to get started. The results on my first attempt are just acceptable, not great. But, now I know what I need to change the next time, which will be when I get around to pulling out the saw to cut strips from my broken kiln shelf.
Summary:
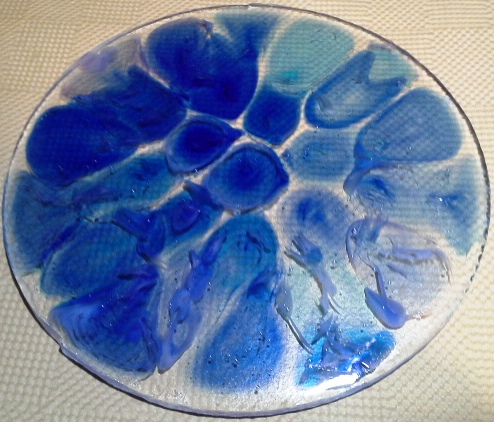
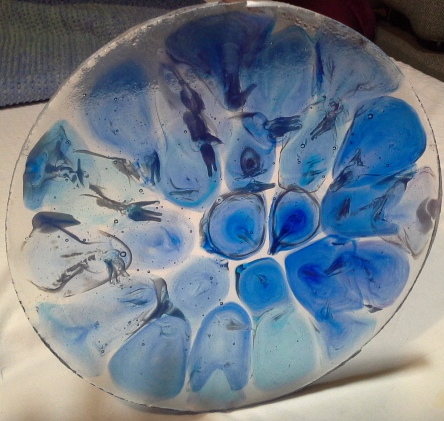
- In my opinion, it’s just a tad too thick. The total weight used was 1345 grams of glass. I should have weighed the crucible first to know how much glass is left, but, there really isn’t all that much.
- Next time I will try butting the edges of the thin fire (and backing the seam with a shot of MR97 just in case. Where the seam was, there is a significant dent that will need cold working, but that’s ok because the entire edge needs just a bit anyway.
- The colors are too light. Next time I will omit the 580g of clear in favor of more color when transparents are used, and half the amount if all opalescent is used.
Material used:
Thin fire paper (cut ¼” larger than mold)
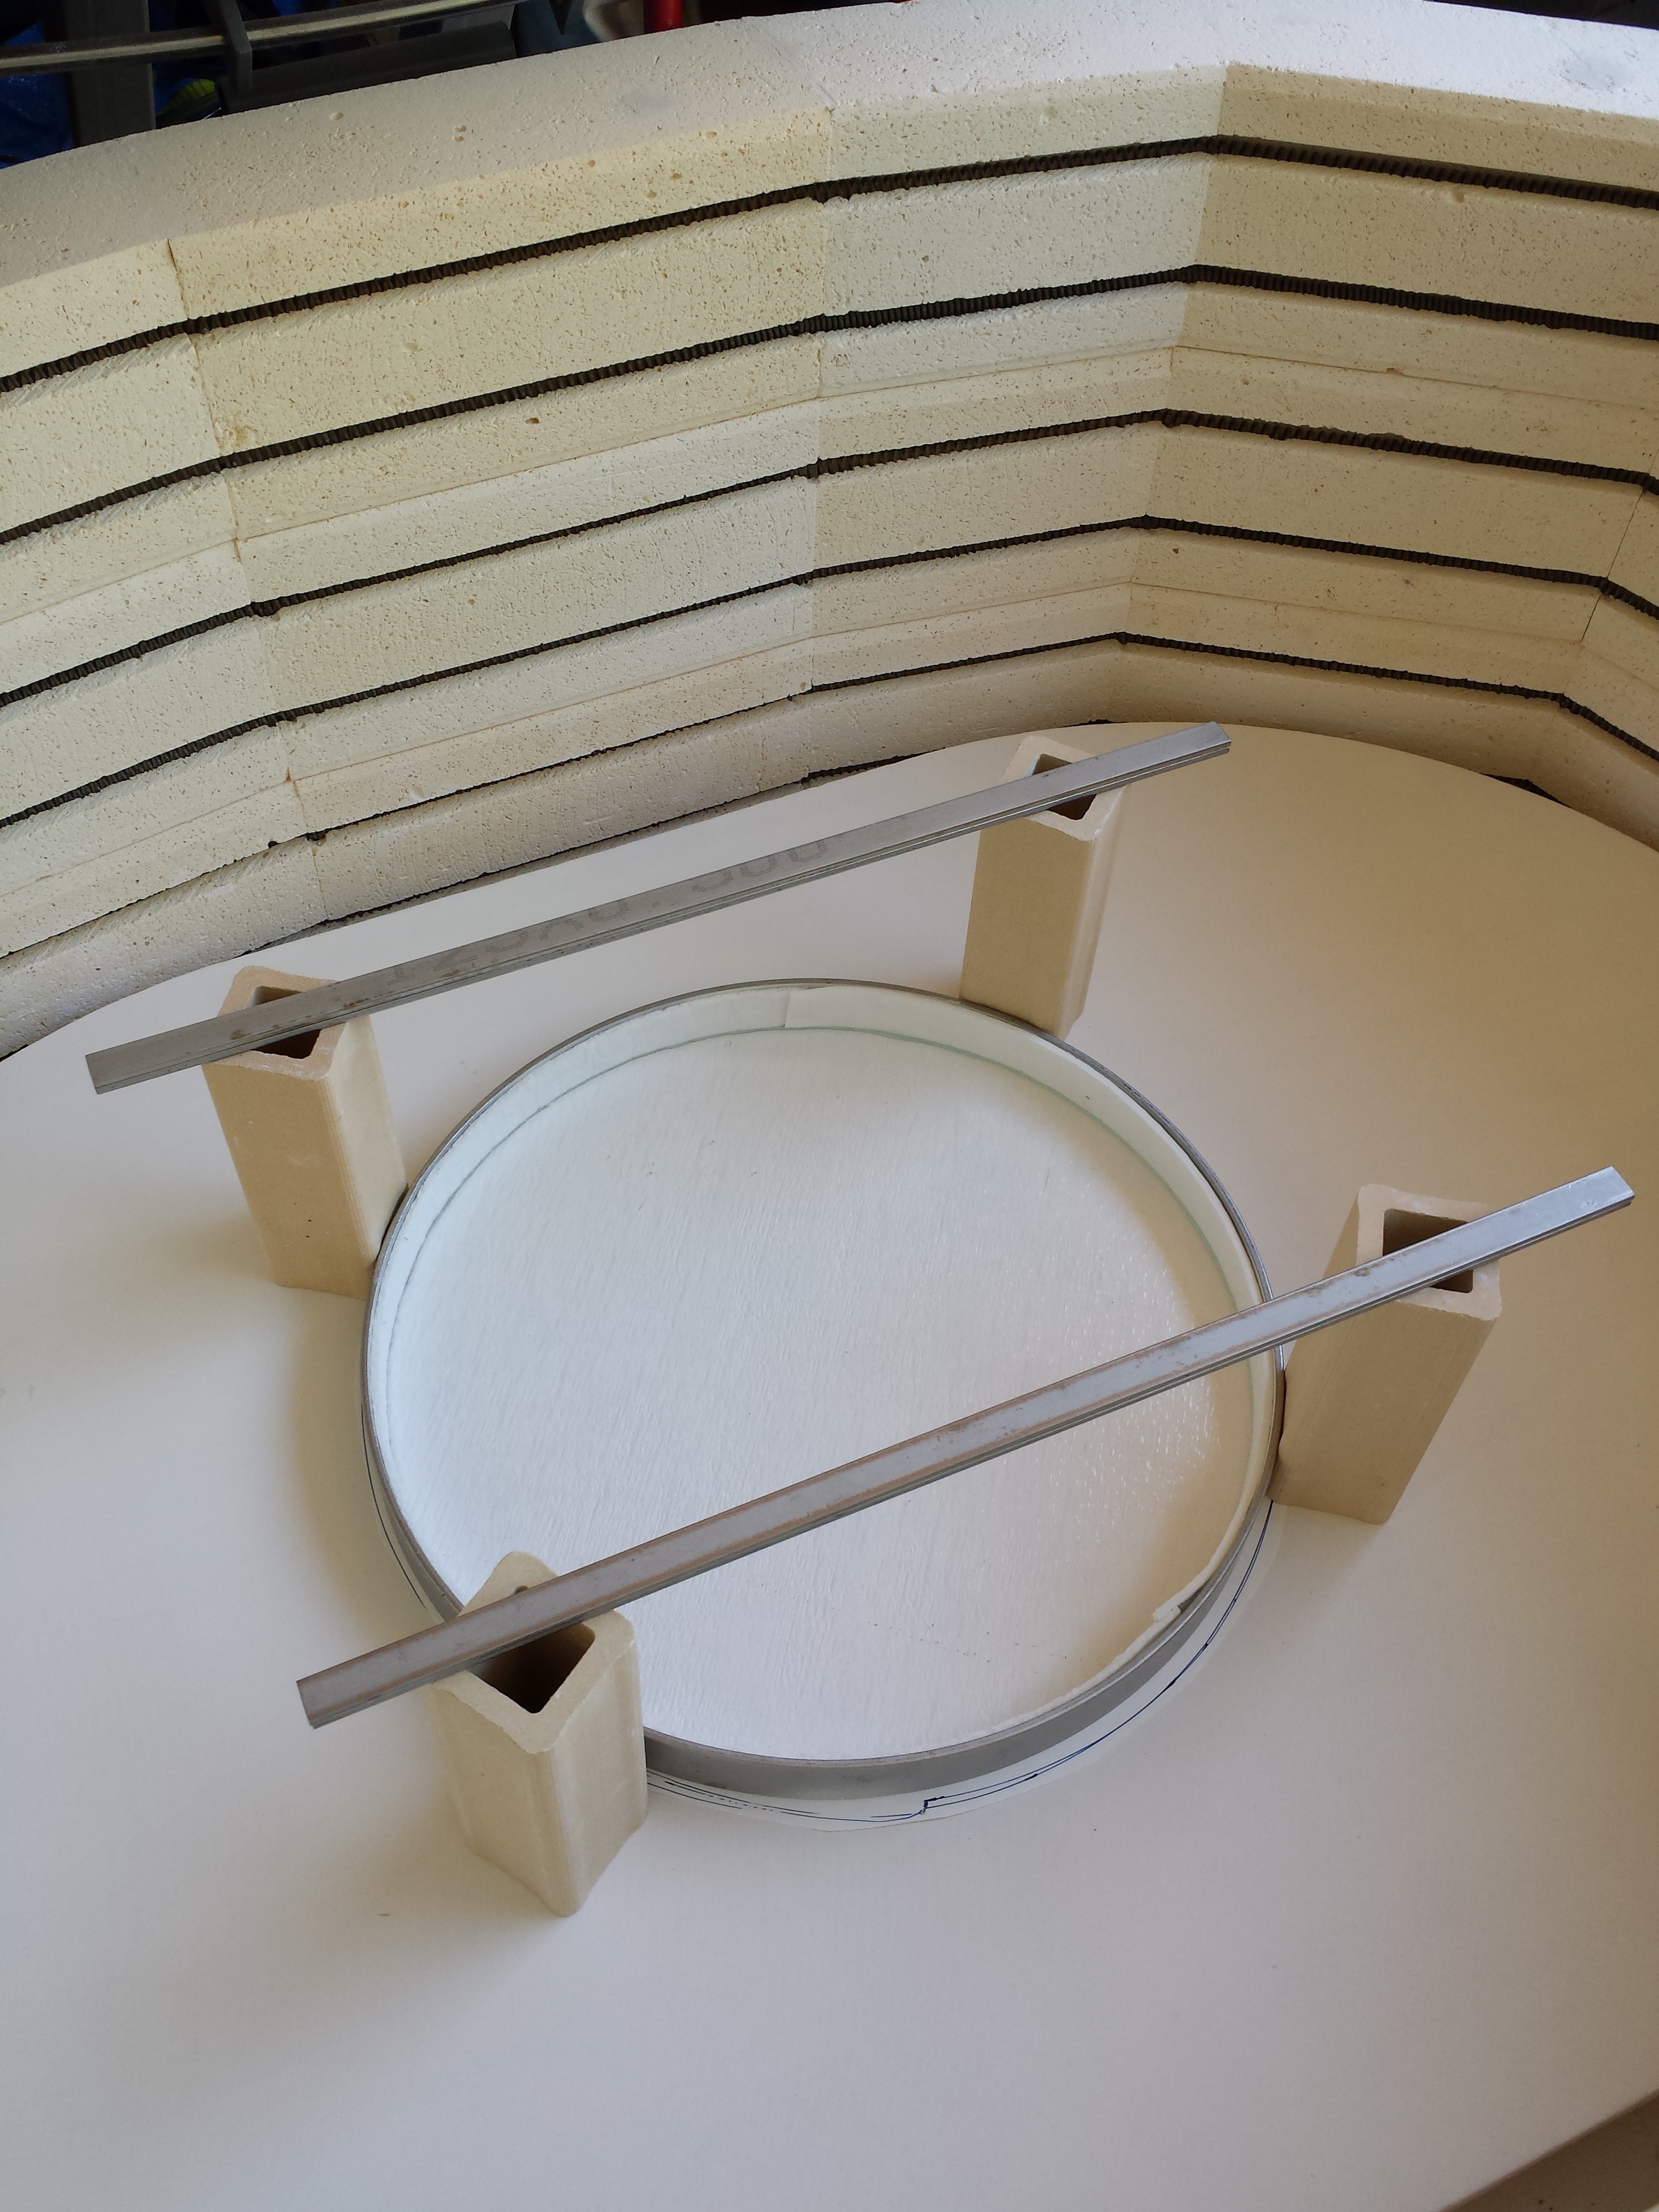
12” stainless steel ring mold
10” bubble pot melt crucible
2 stainless steel strips (used here)
2 strips of cut up kiln shelf (will use next time in place of ss strips)
4 kiln stilts
1” wide 1/8” thick fiber paper

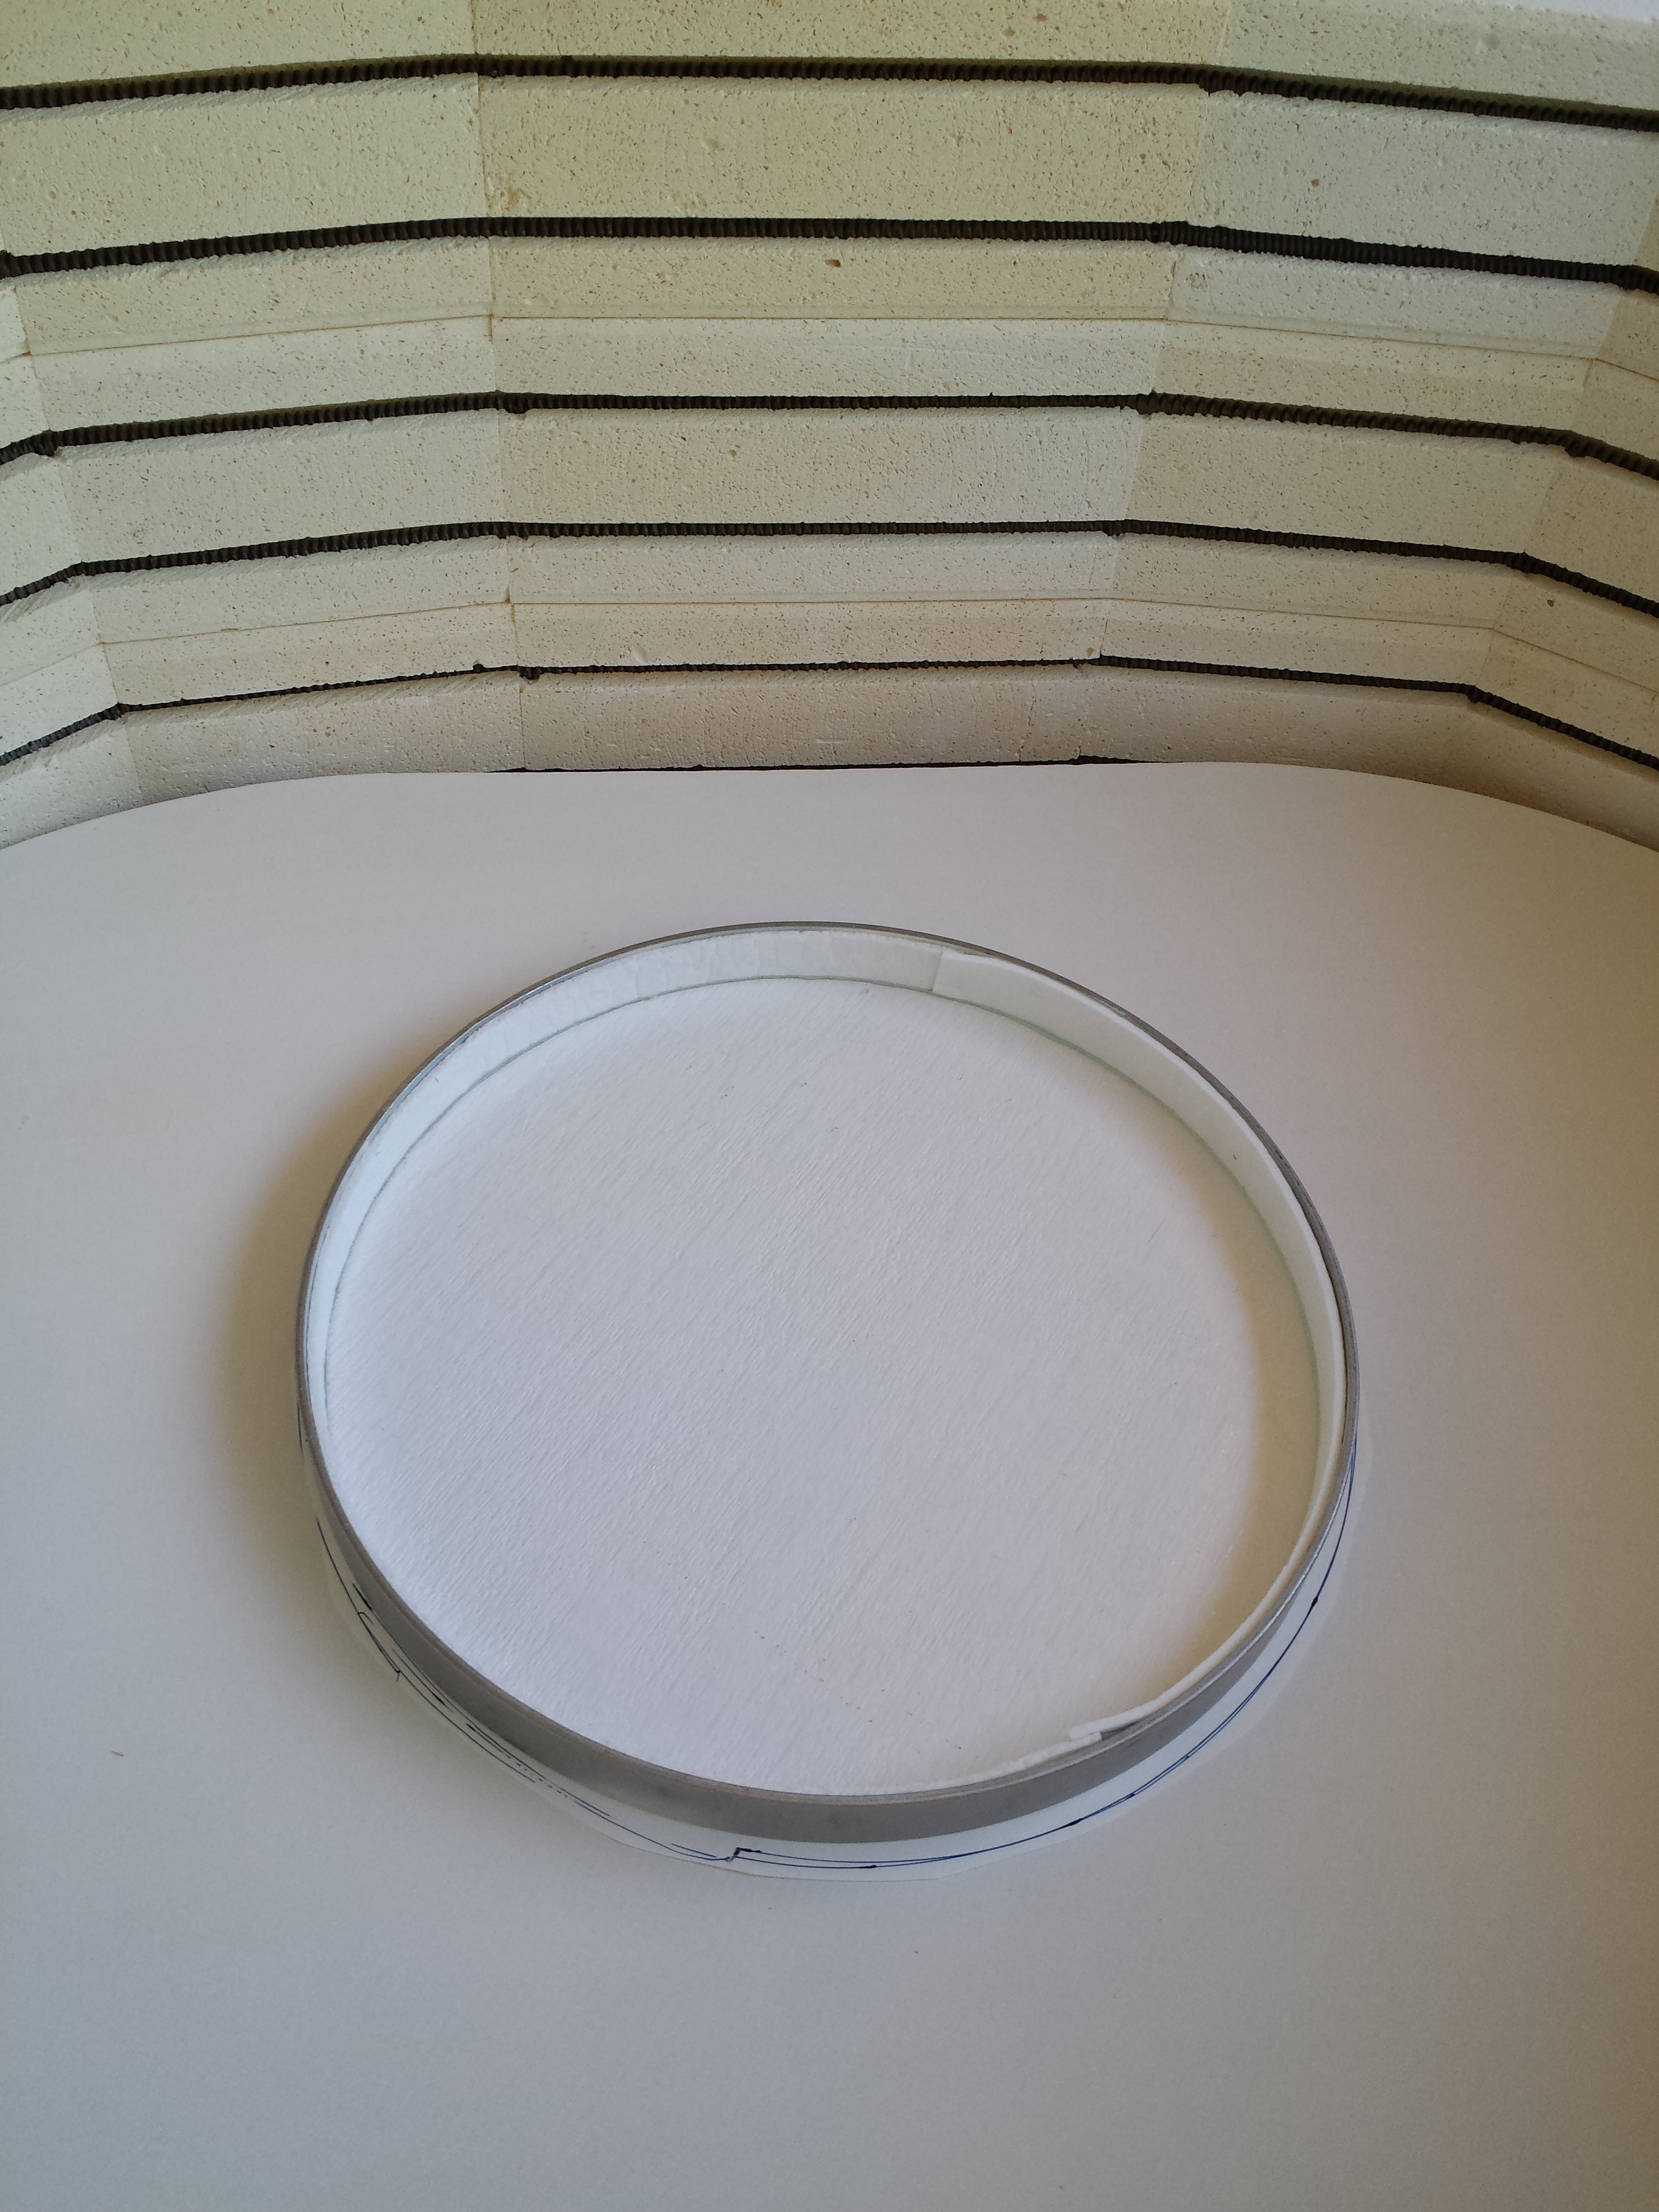
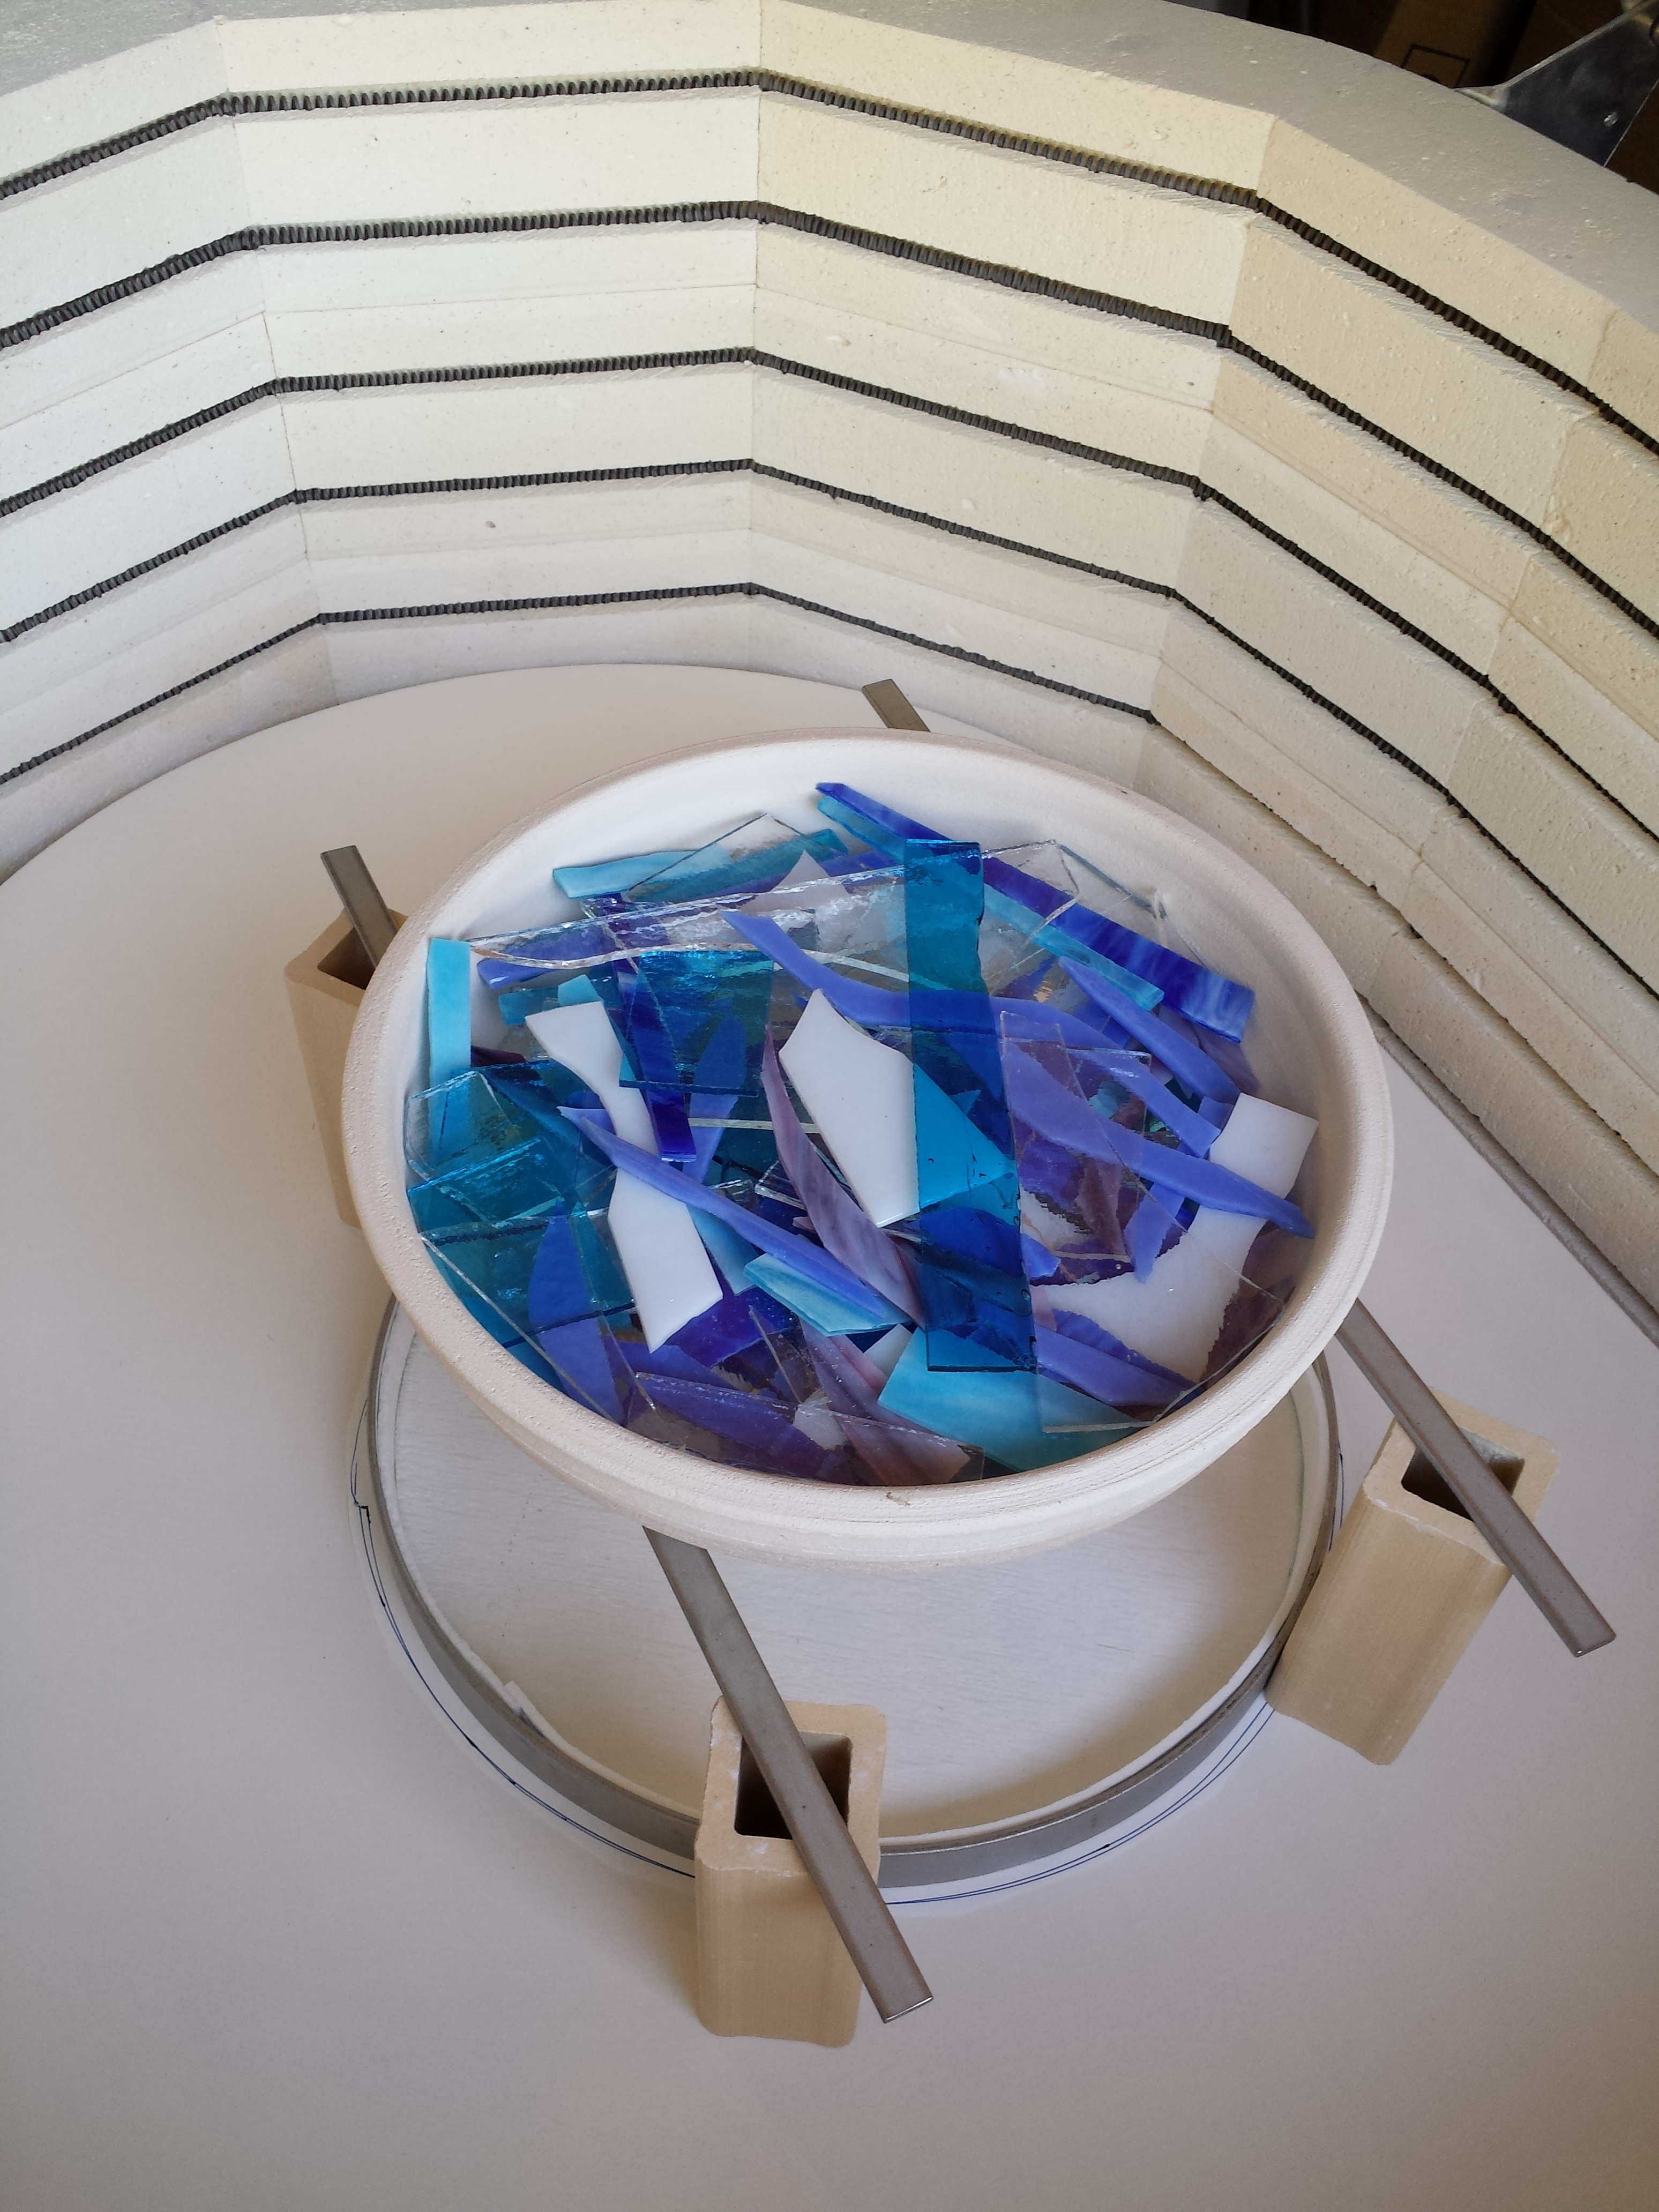
Place the mold in the kiln on top of the thin fire.
Add a disk of clear glass cut to fit. Here it was 12” (perfectly fit inside the mold) to start, but I had to grind it down about 1/8 inch to fit the ring with the fiber paper added.
Weight of glass 580g.
In this first attempt, I used the ss strips, but, the heat combined with the weight bent them, so I won’t be using those anymore. But, they did work.

Use the end of a tool (screwdriver, paint brush, etc.) to poke through the holes to make sure your support is not under any of the holes at the edge.


In the next run, I will skip this step, but if you are using mostly opalescent glass, you might want to add this.
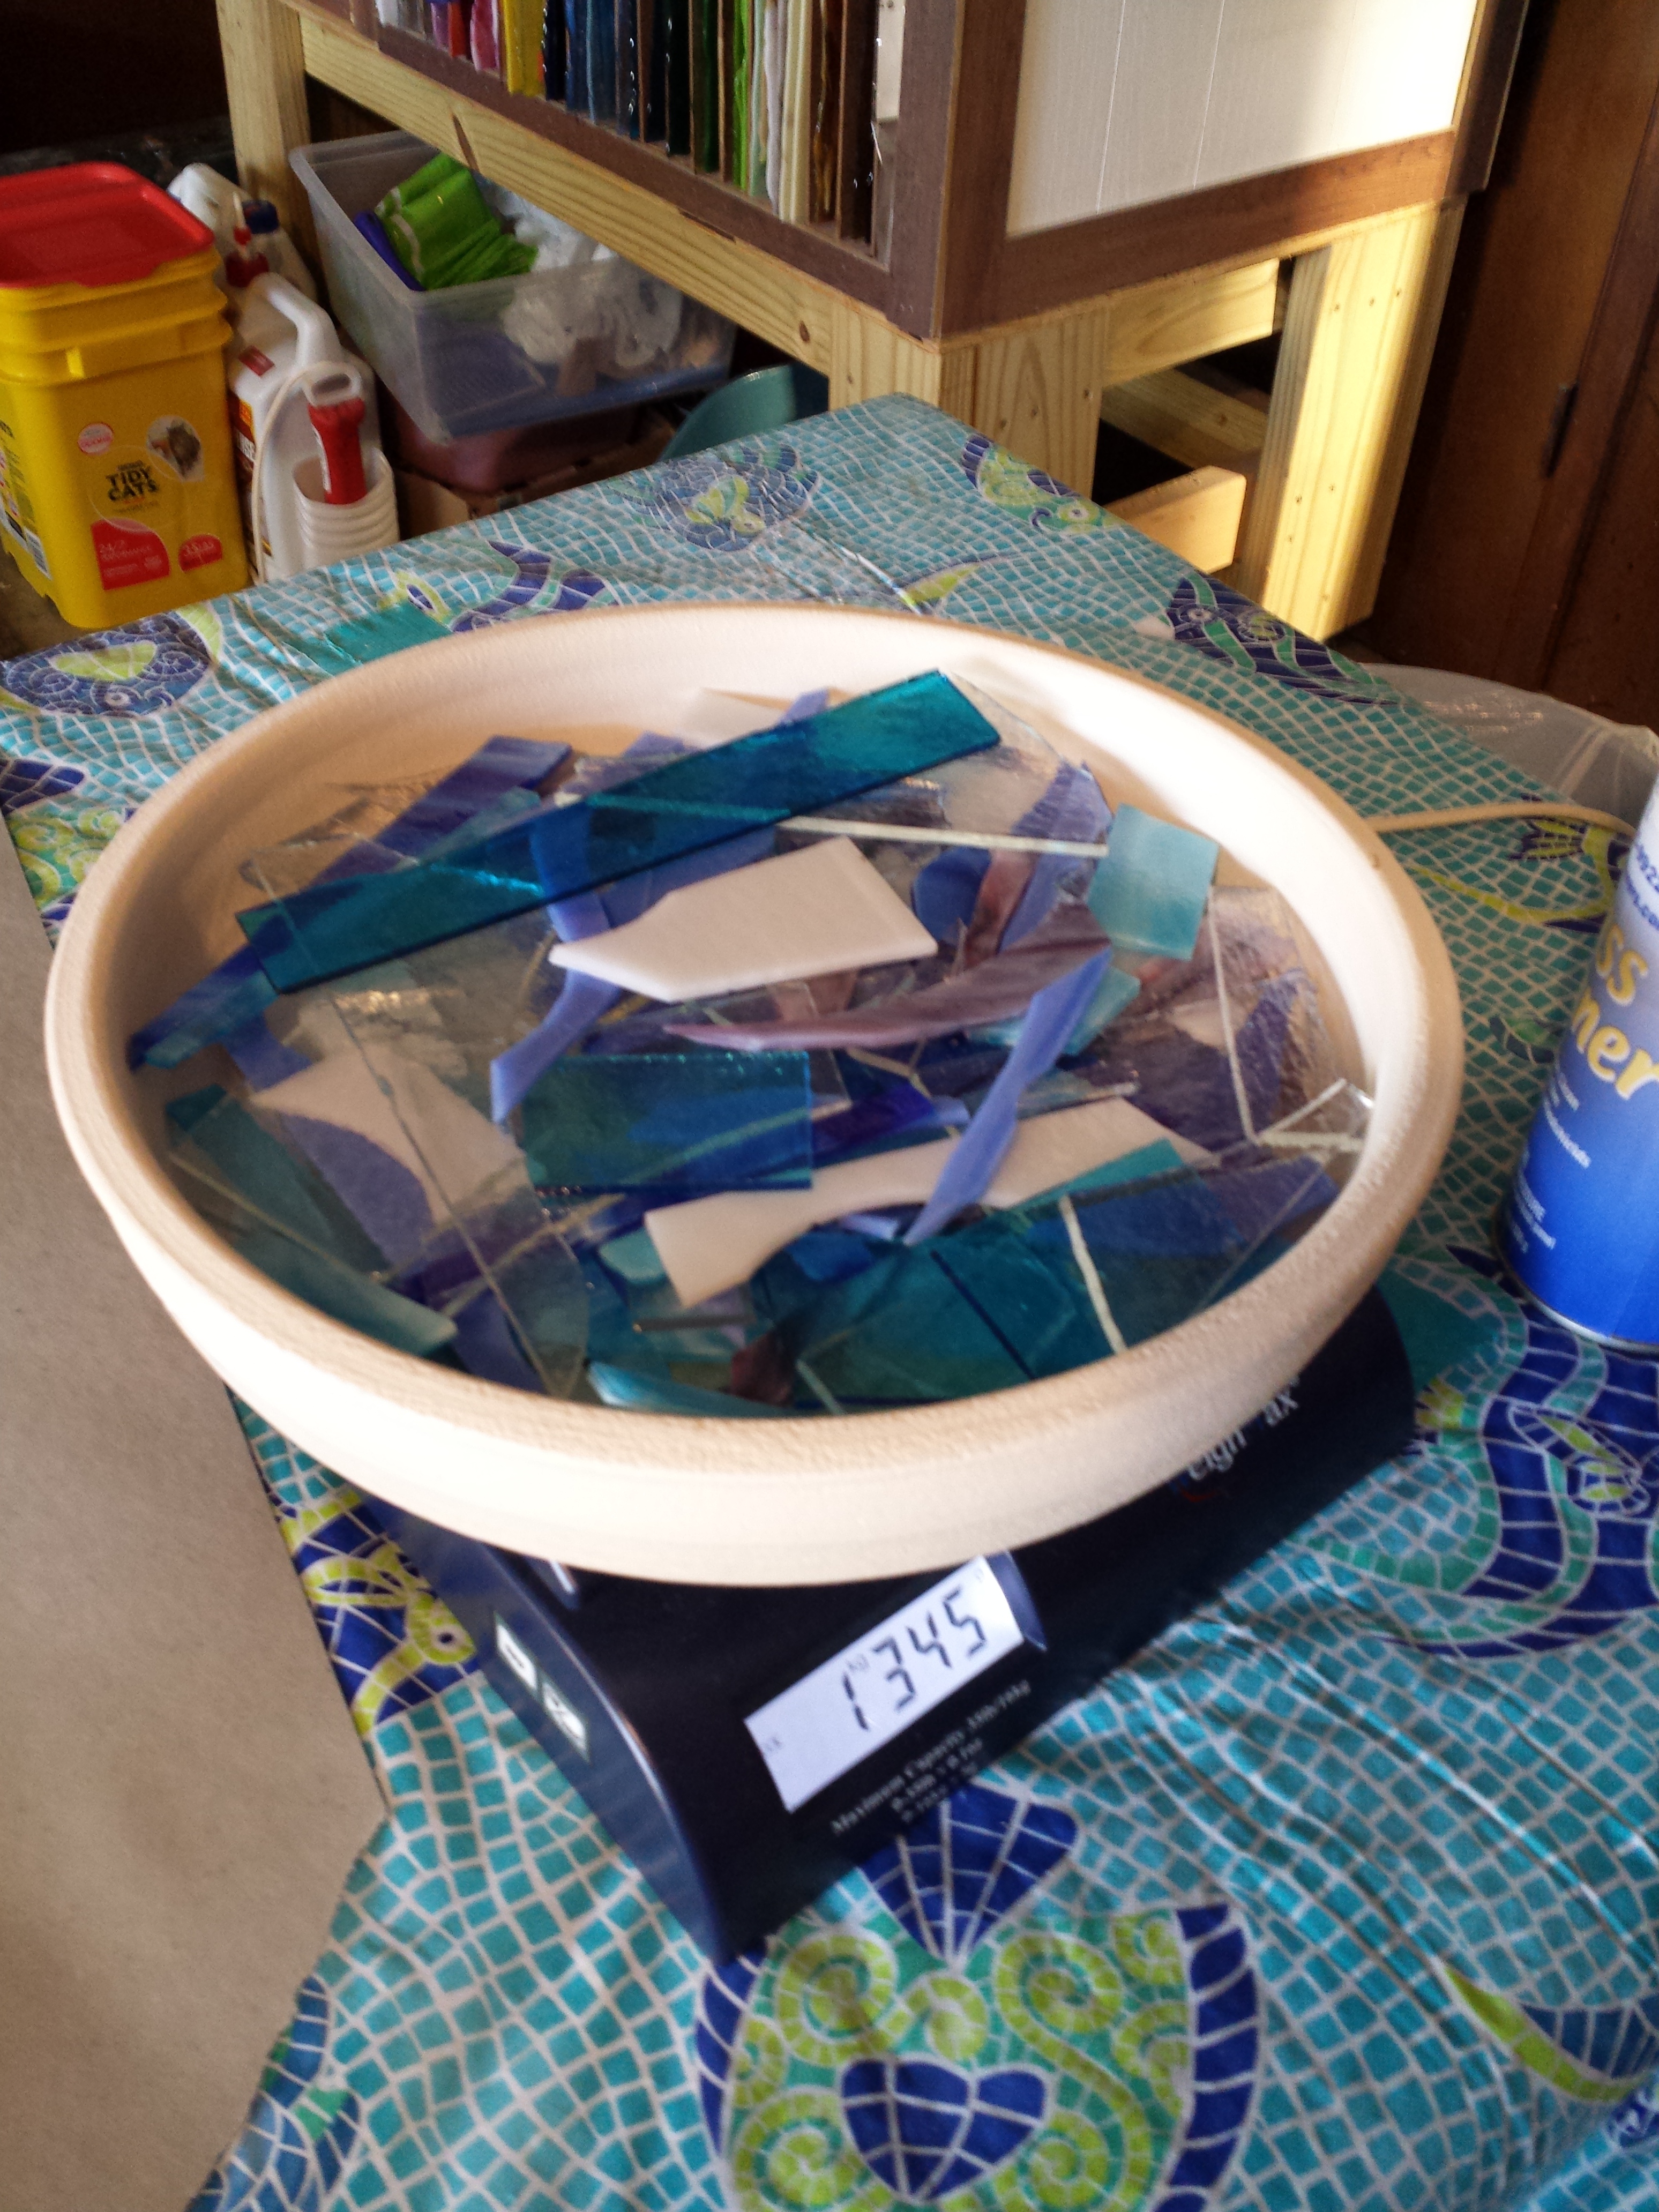
In this melt I used:
145g – 243 white
145g – 1116 turquoise
145g – 2164 Caribbean Blue, White streaky
145g – 118 periwinkle
70g – 3328 White, Deep Royal Purple streaky
115g – 3116 Clear, Turquoise Blue, White streaky
The total of color was 1345grams
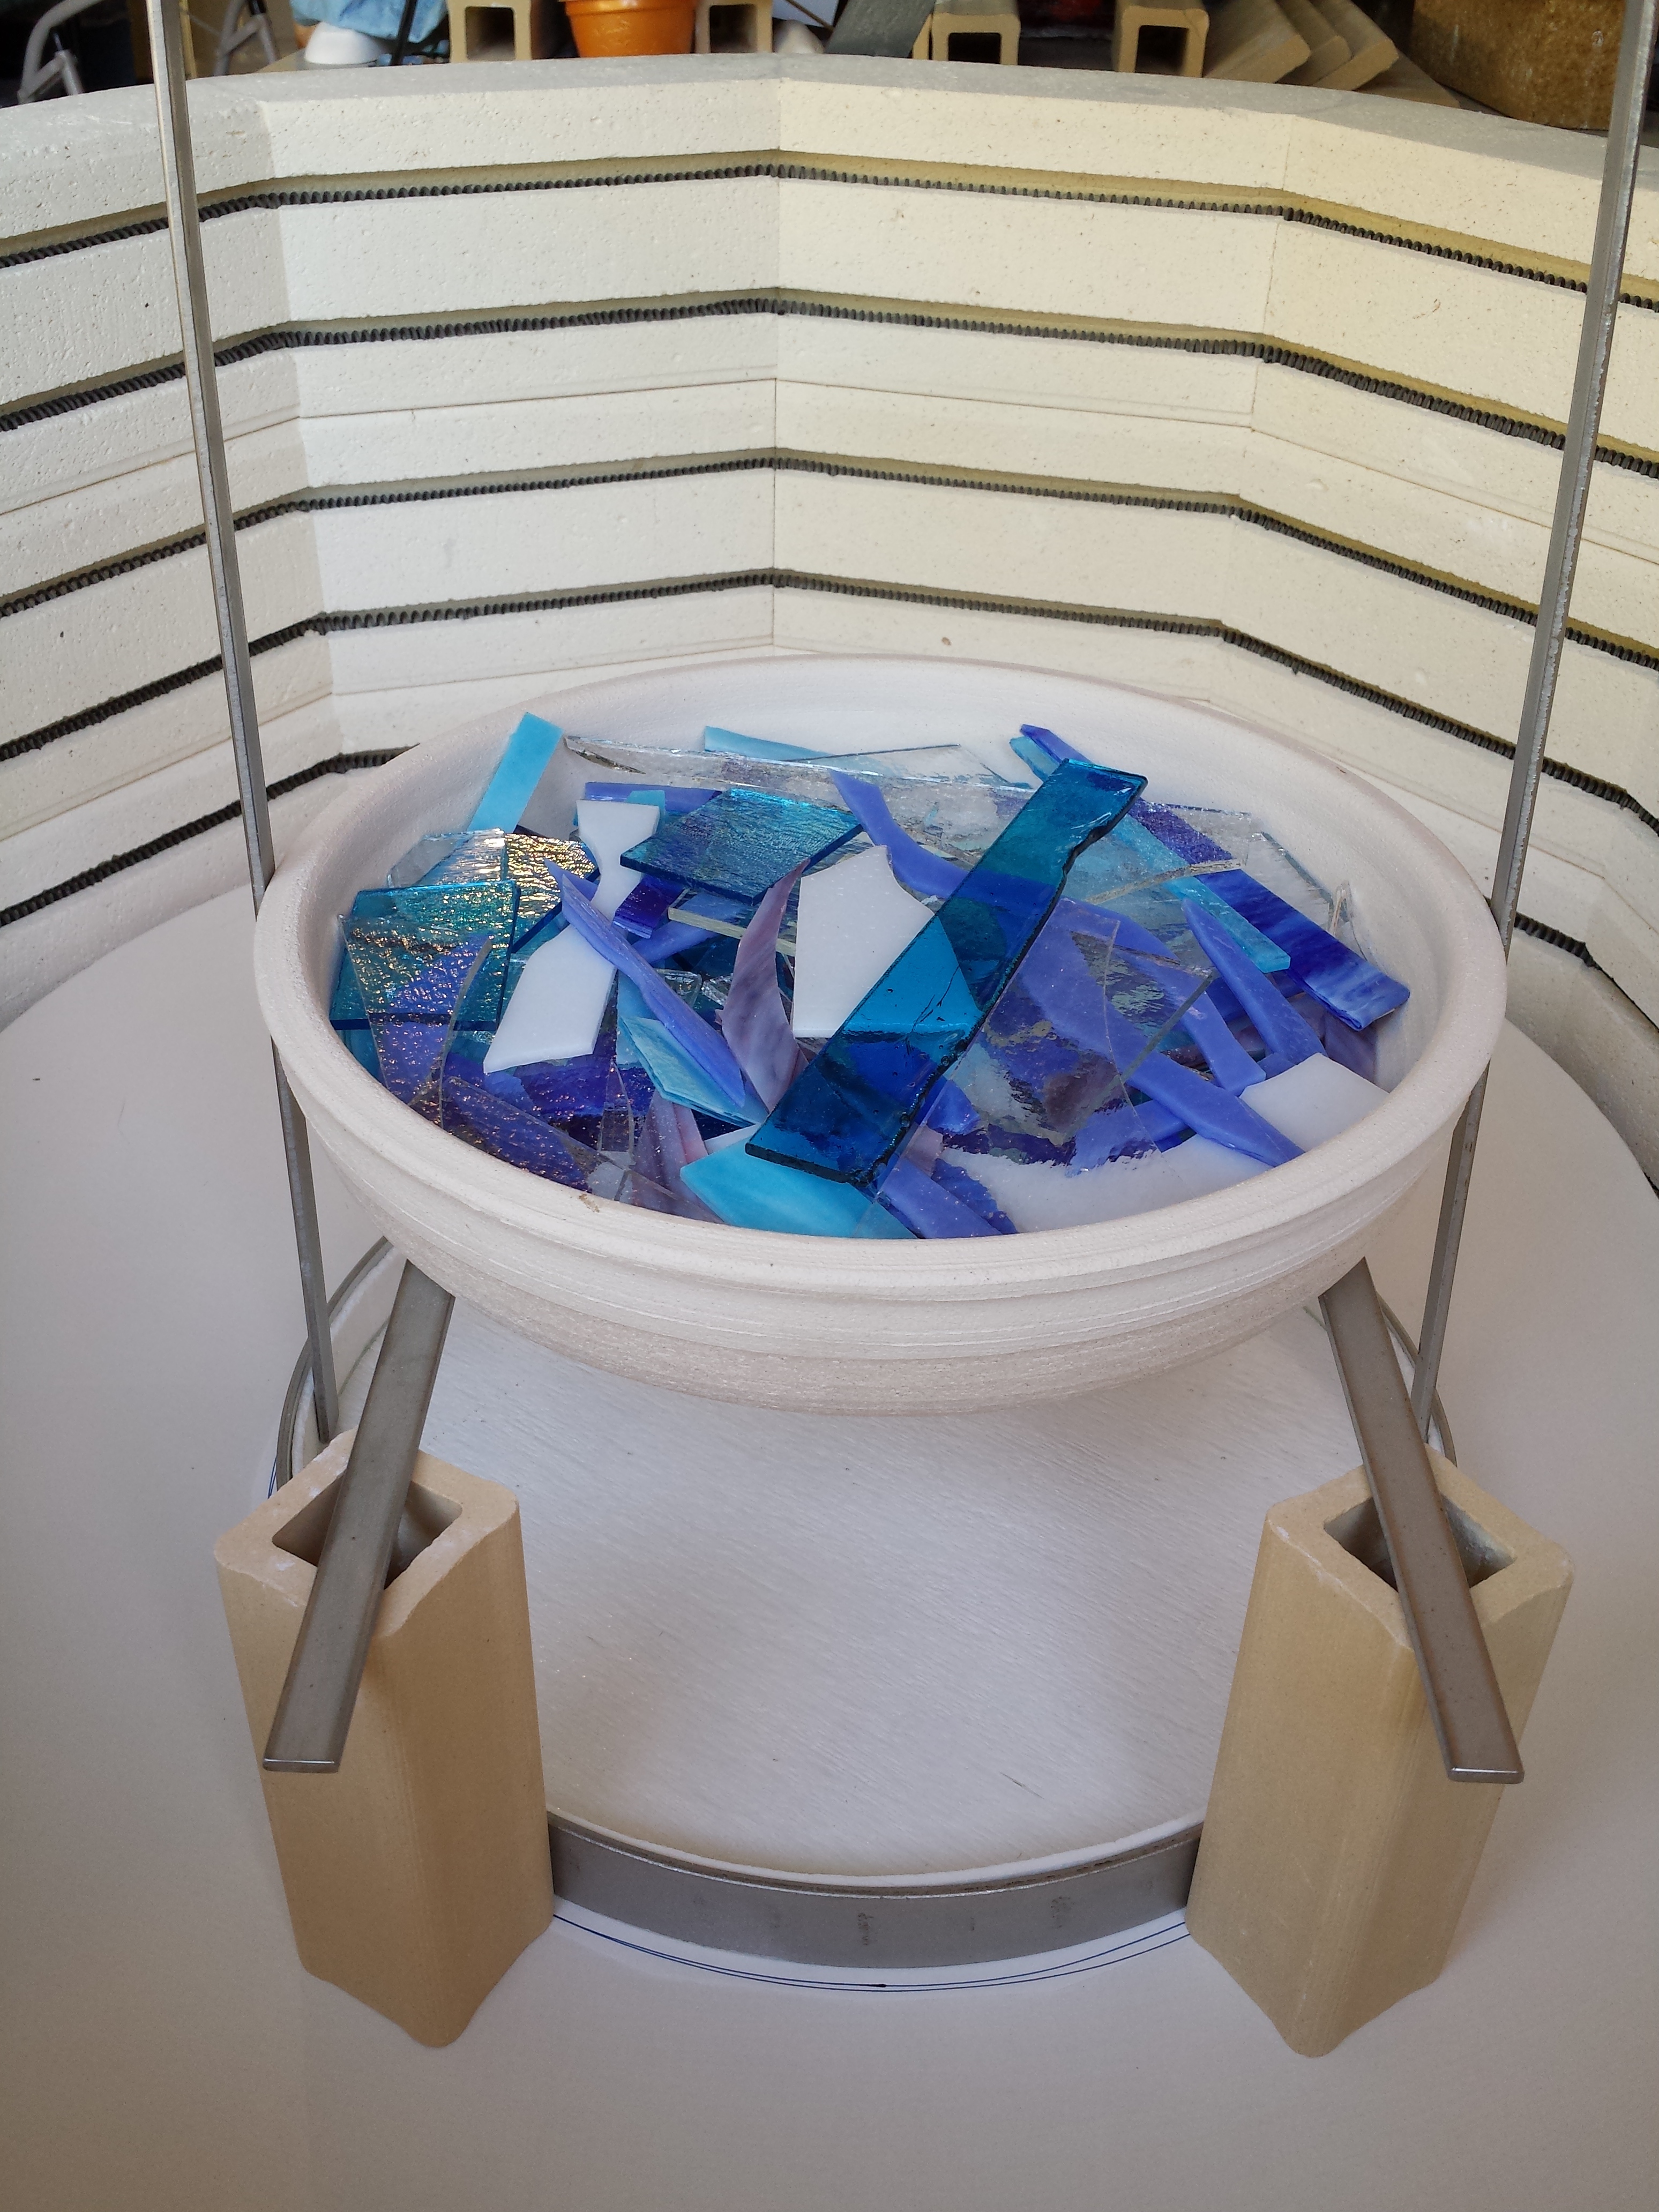
Remove measuring devices before you close the kiln.
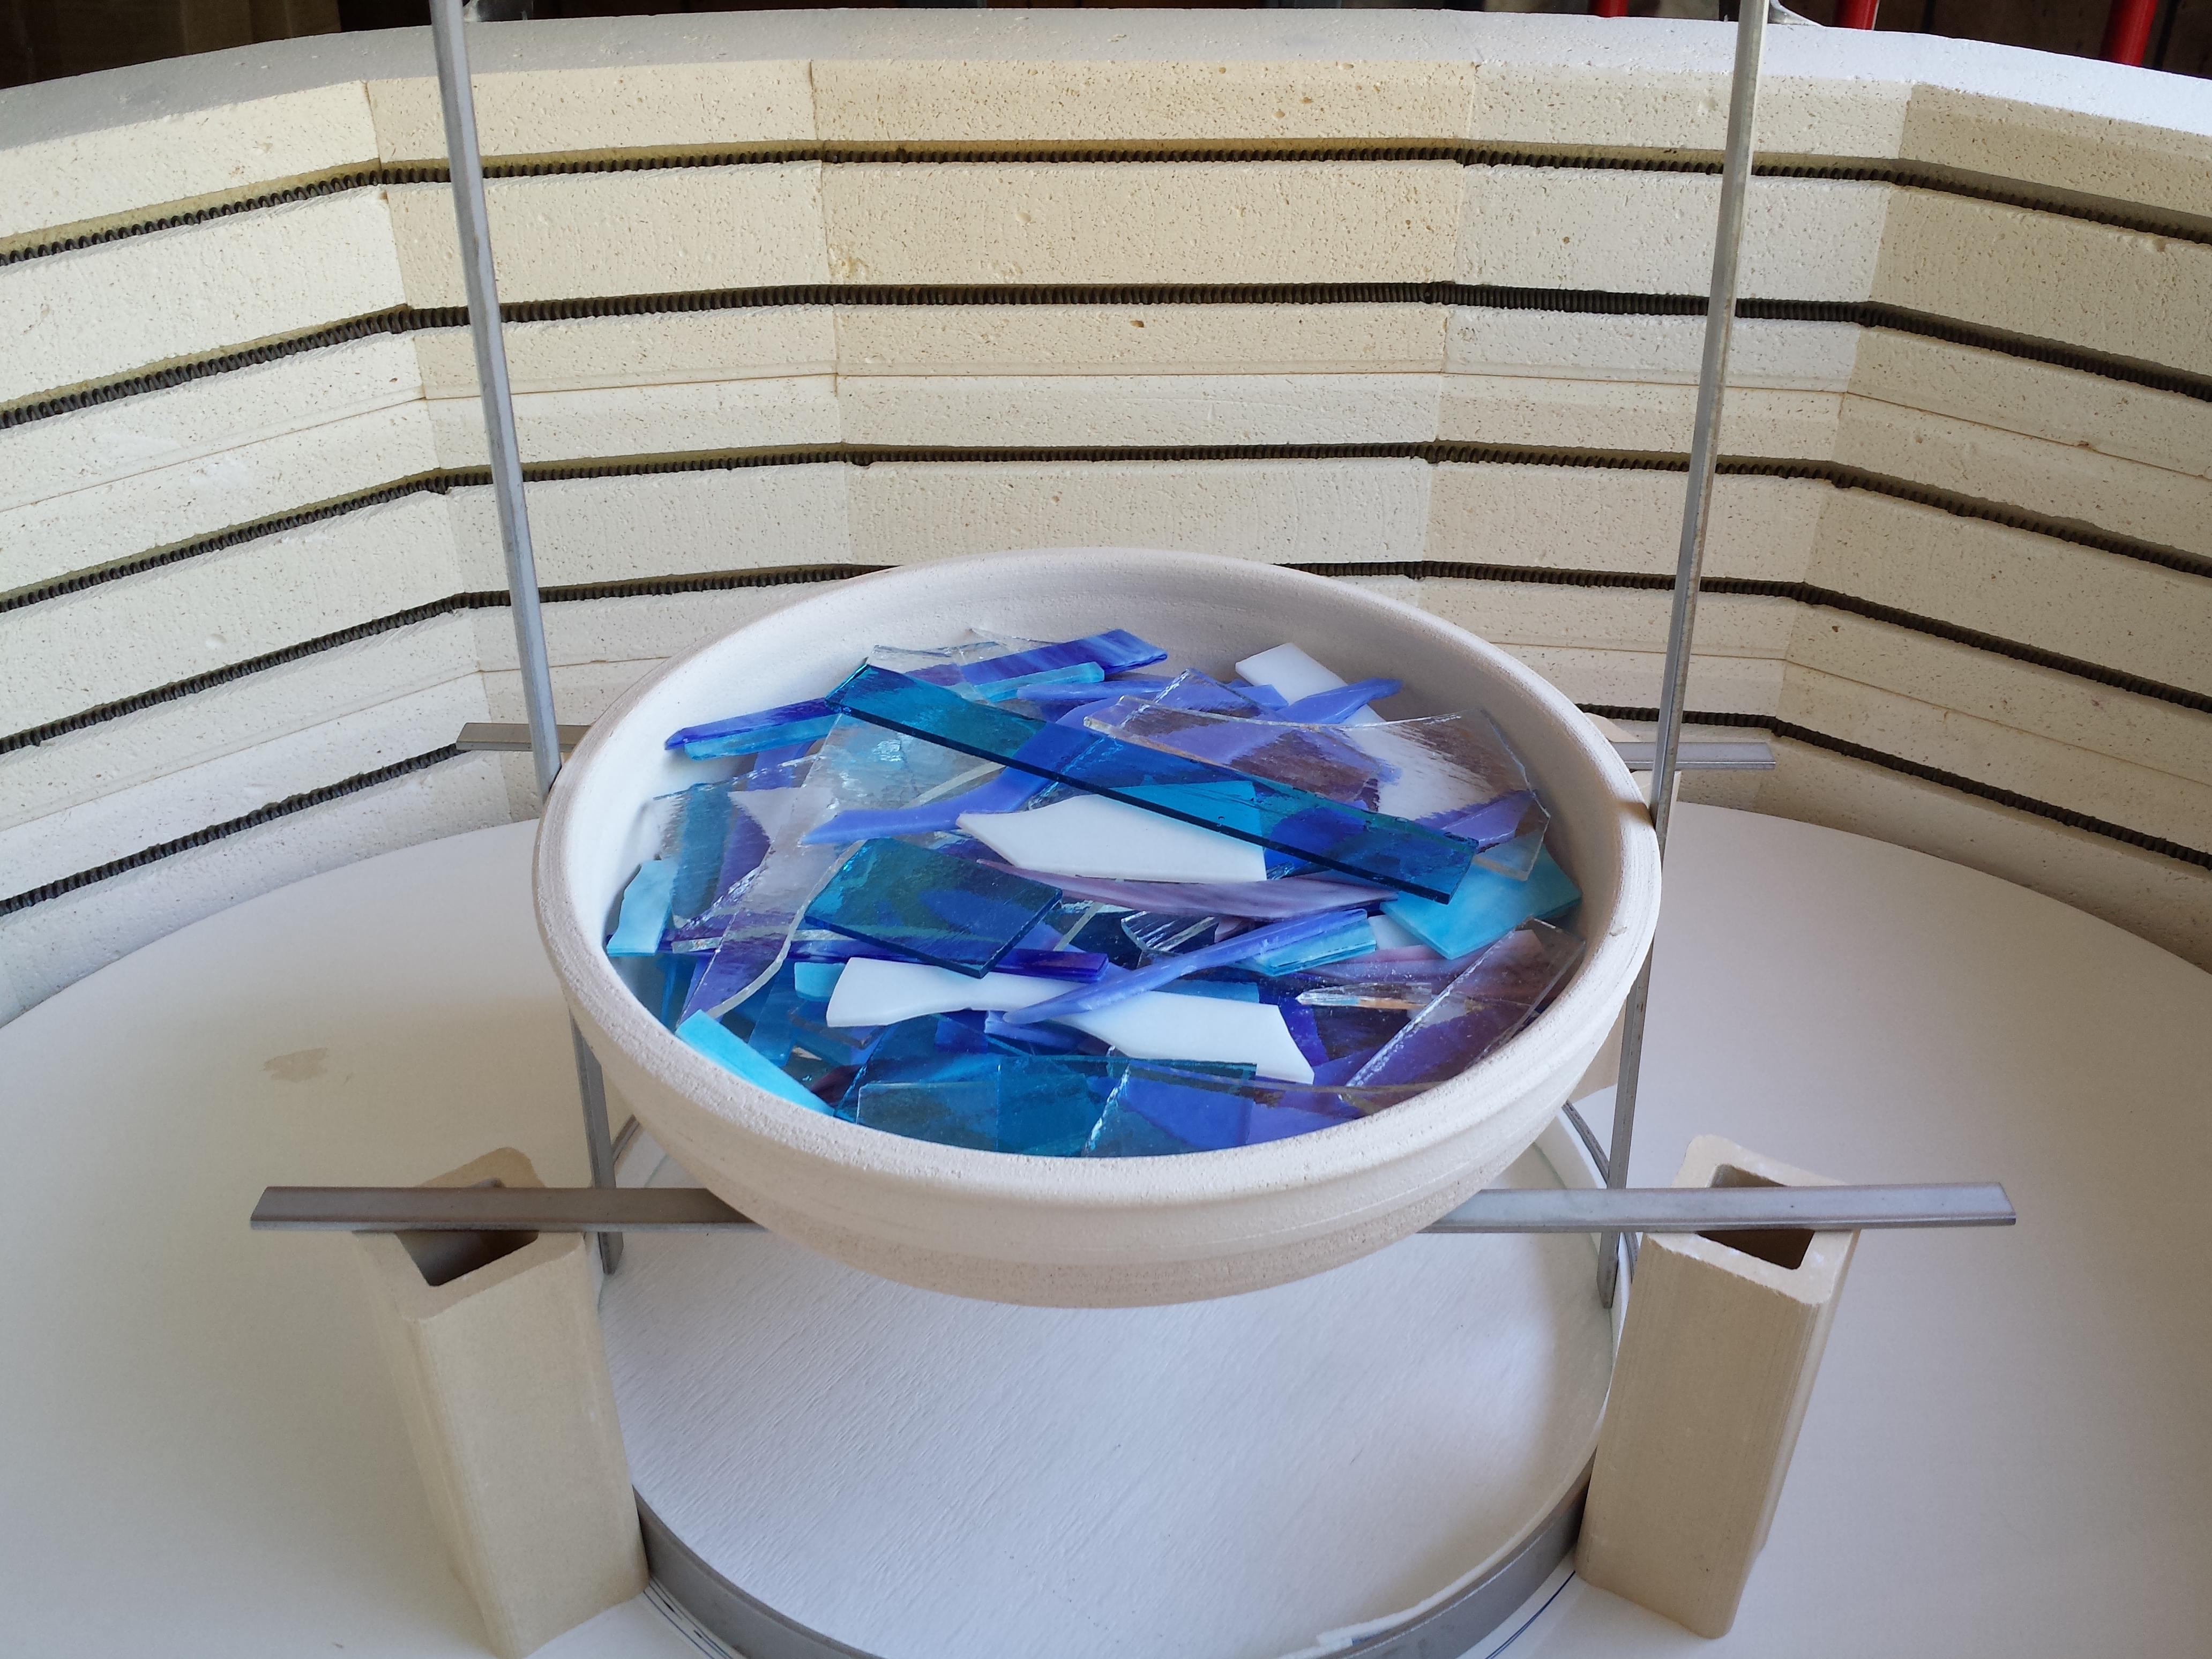
Here, I used stainless steel sticks to make sure both sides were equal.
The kiln used here is Olympic 2514GFE, with RTC1000 controller.
250 degrees per hour to 1000 with no hold
450 dph to 1680 hold 90 minutes
9999 to 1520 hold 20 minutes
9999 to 900 hold 2 hours
100 dph to 800 hold 1 hour
50 dph to 700 hold 30 minutes
off
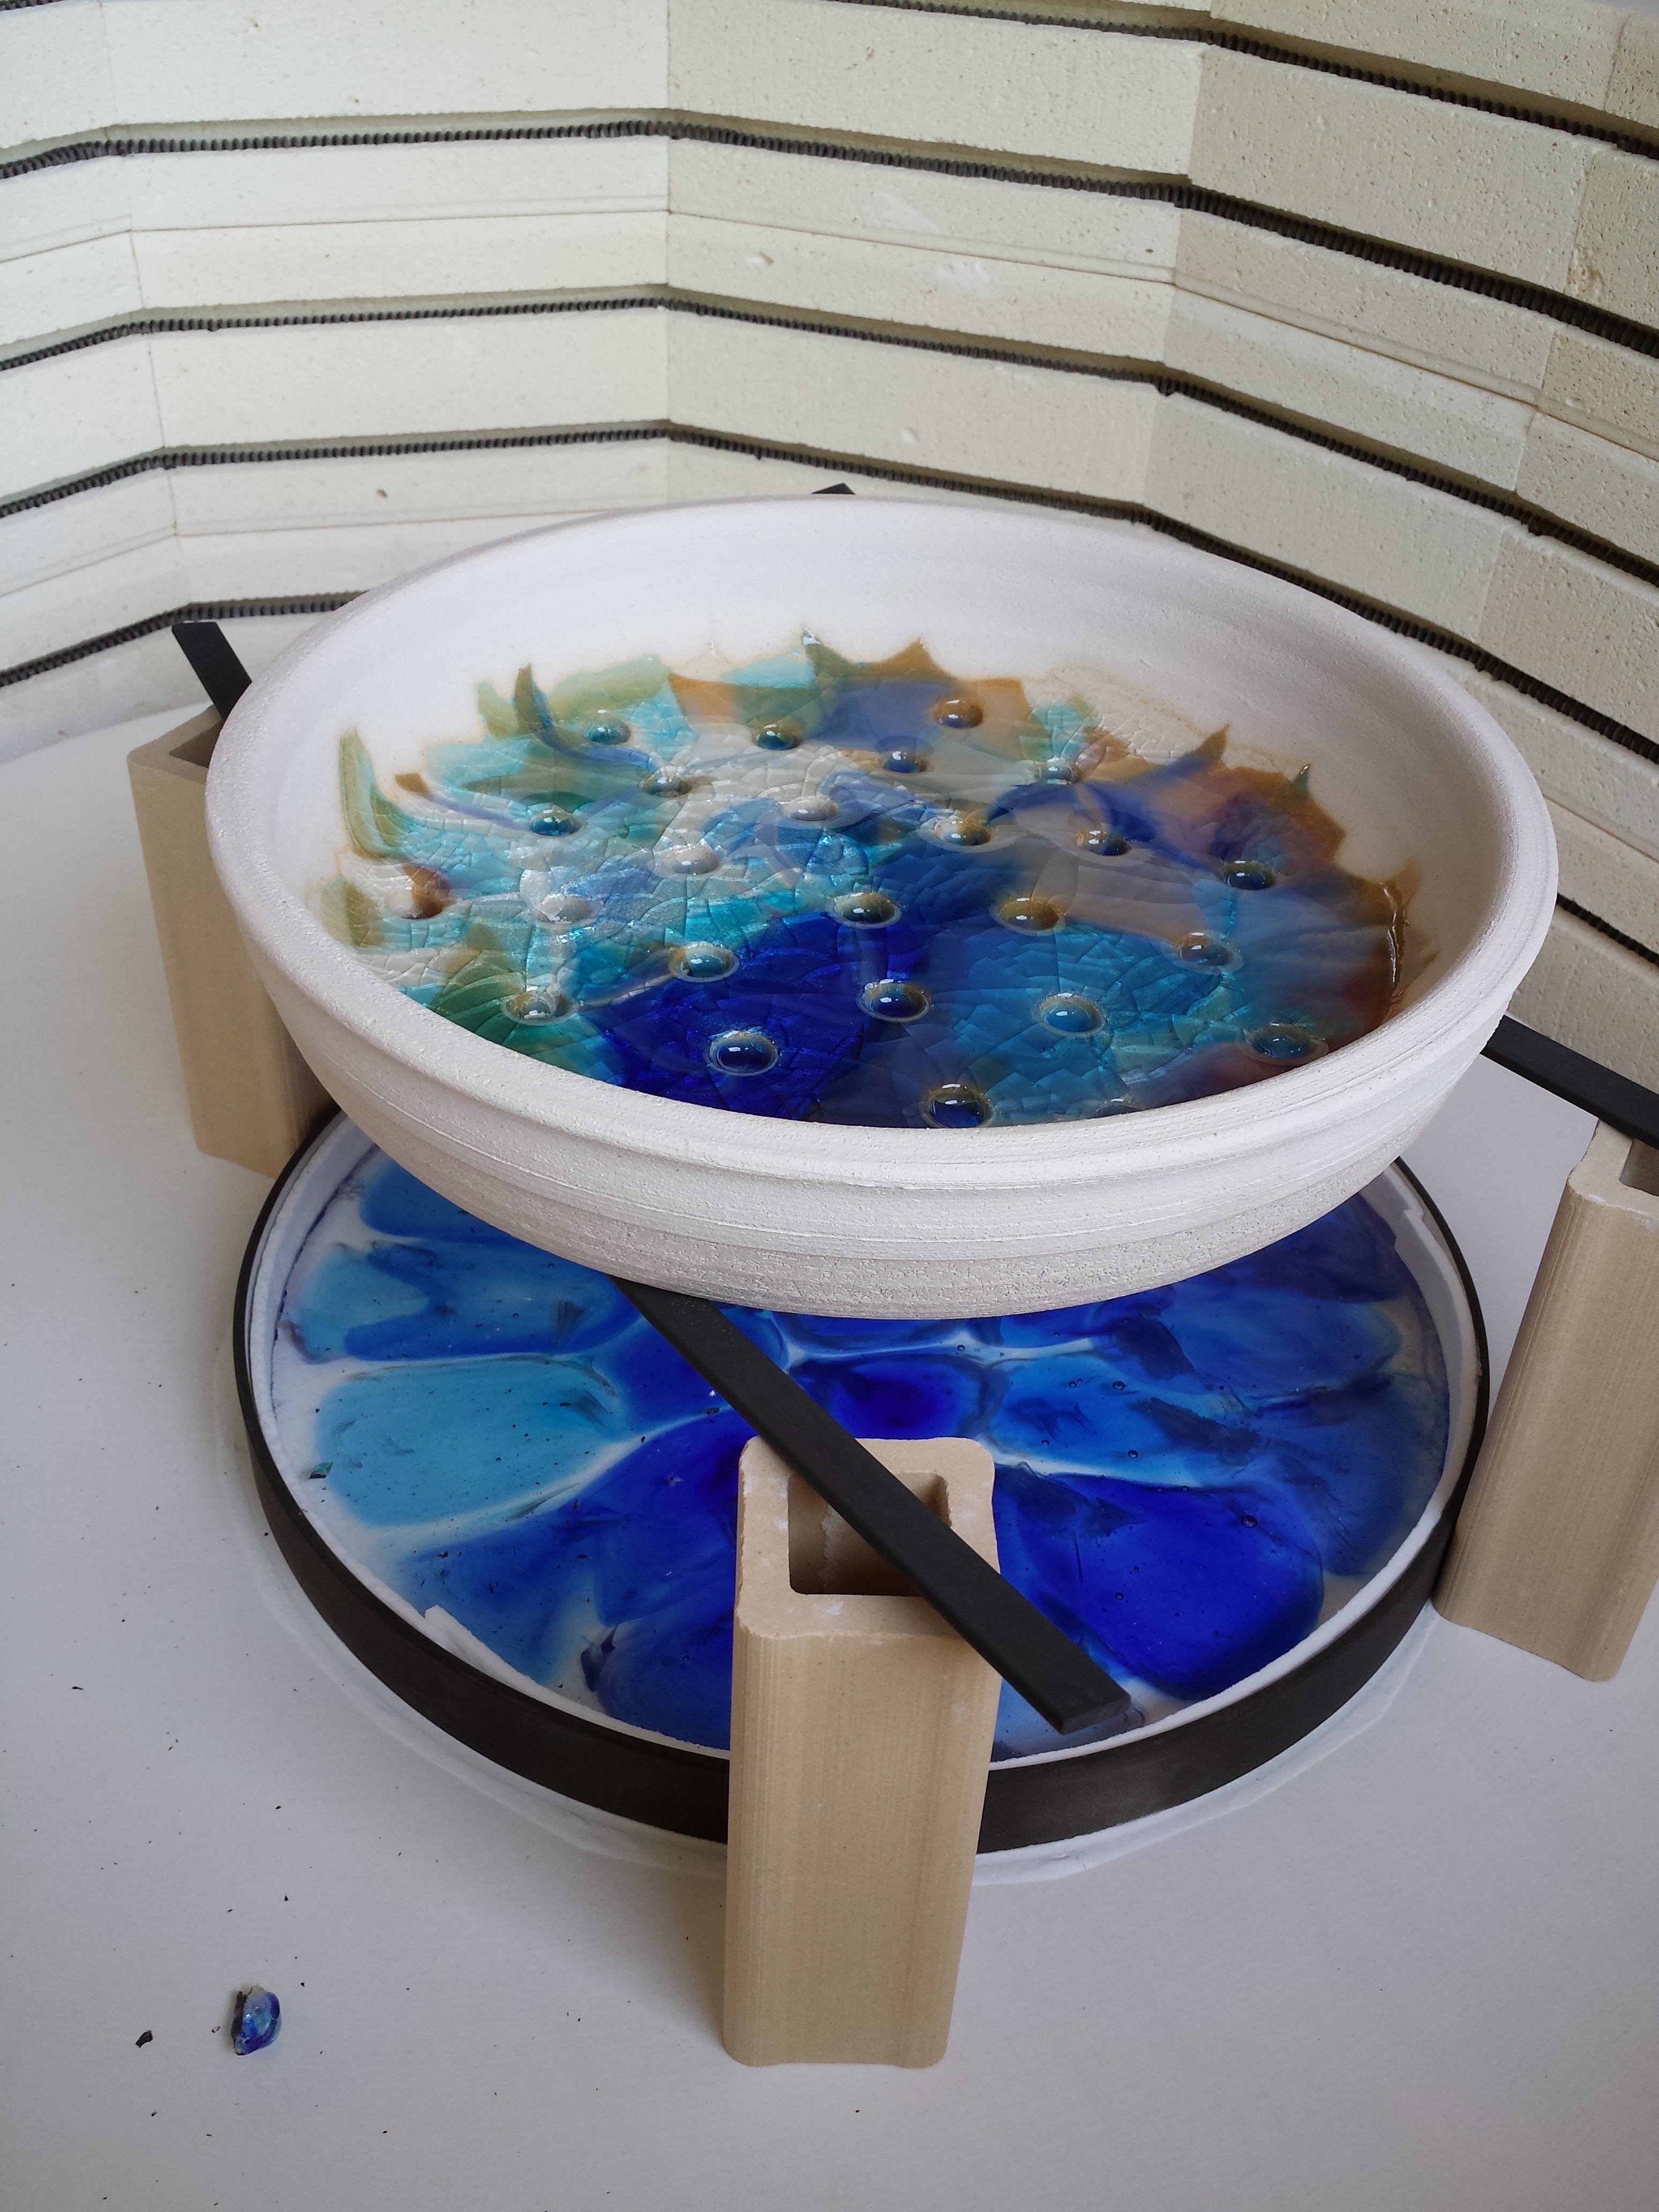
But, use this as a cautionary tale; don’t use glasses that could have a reaction with each other.
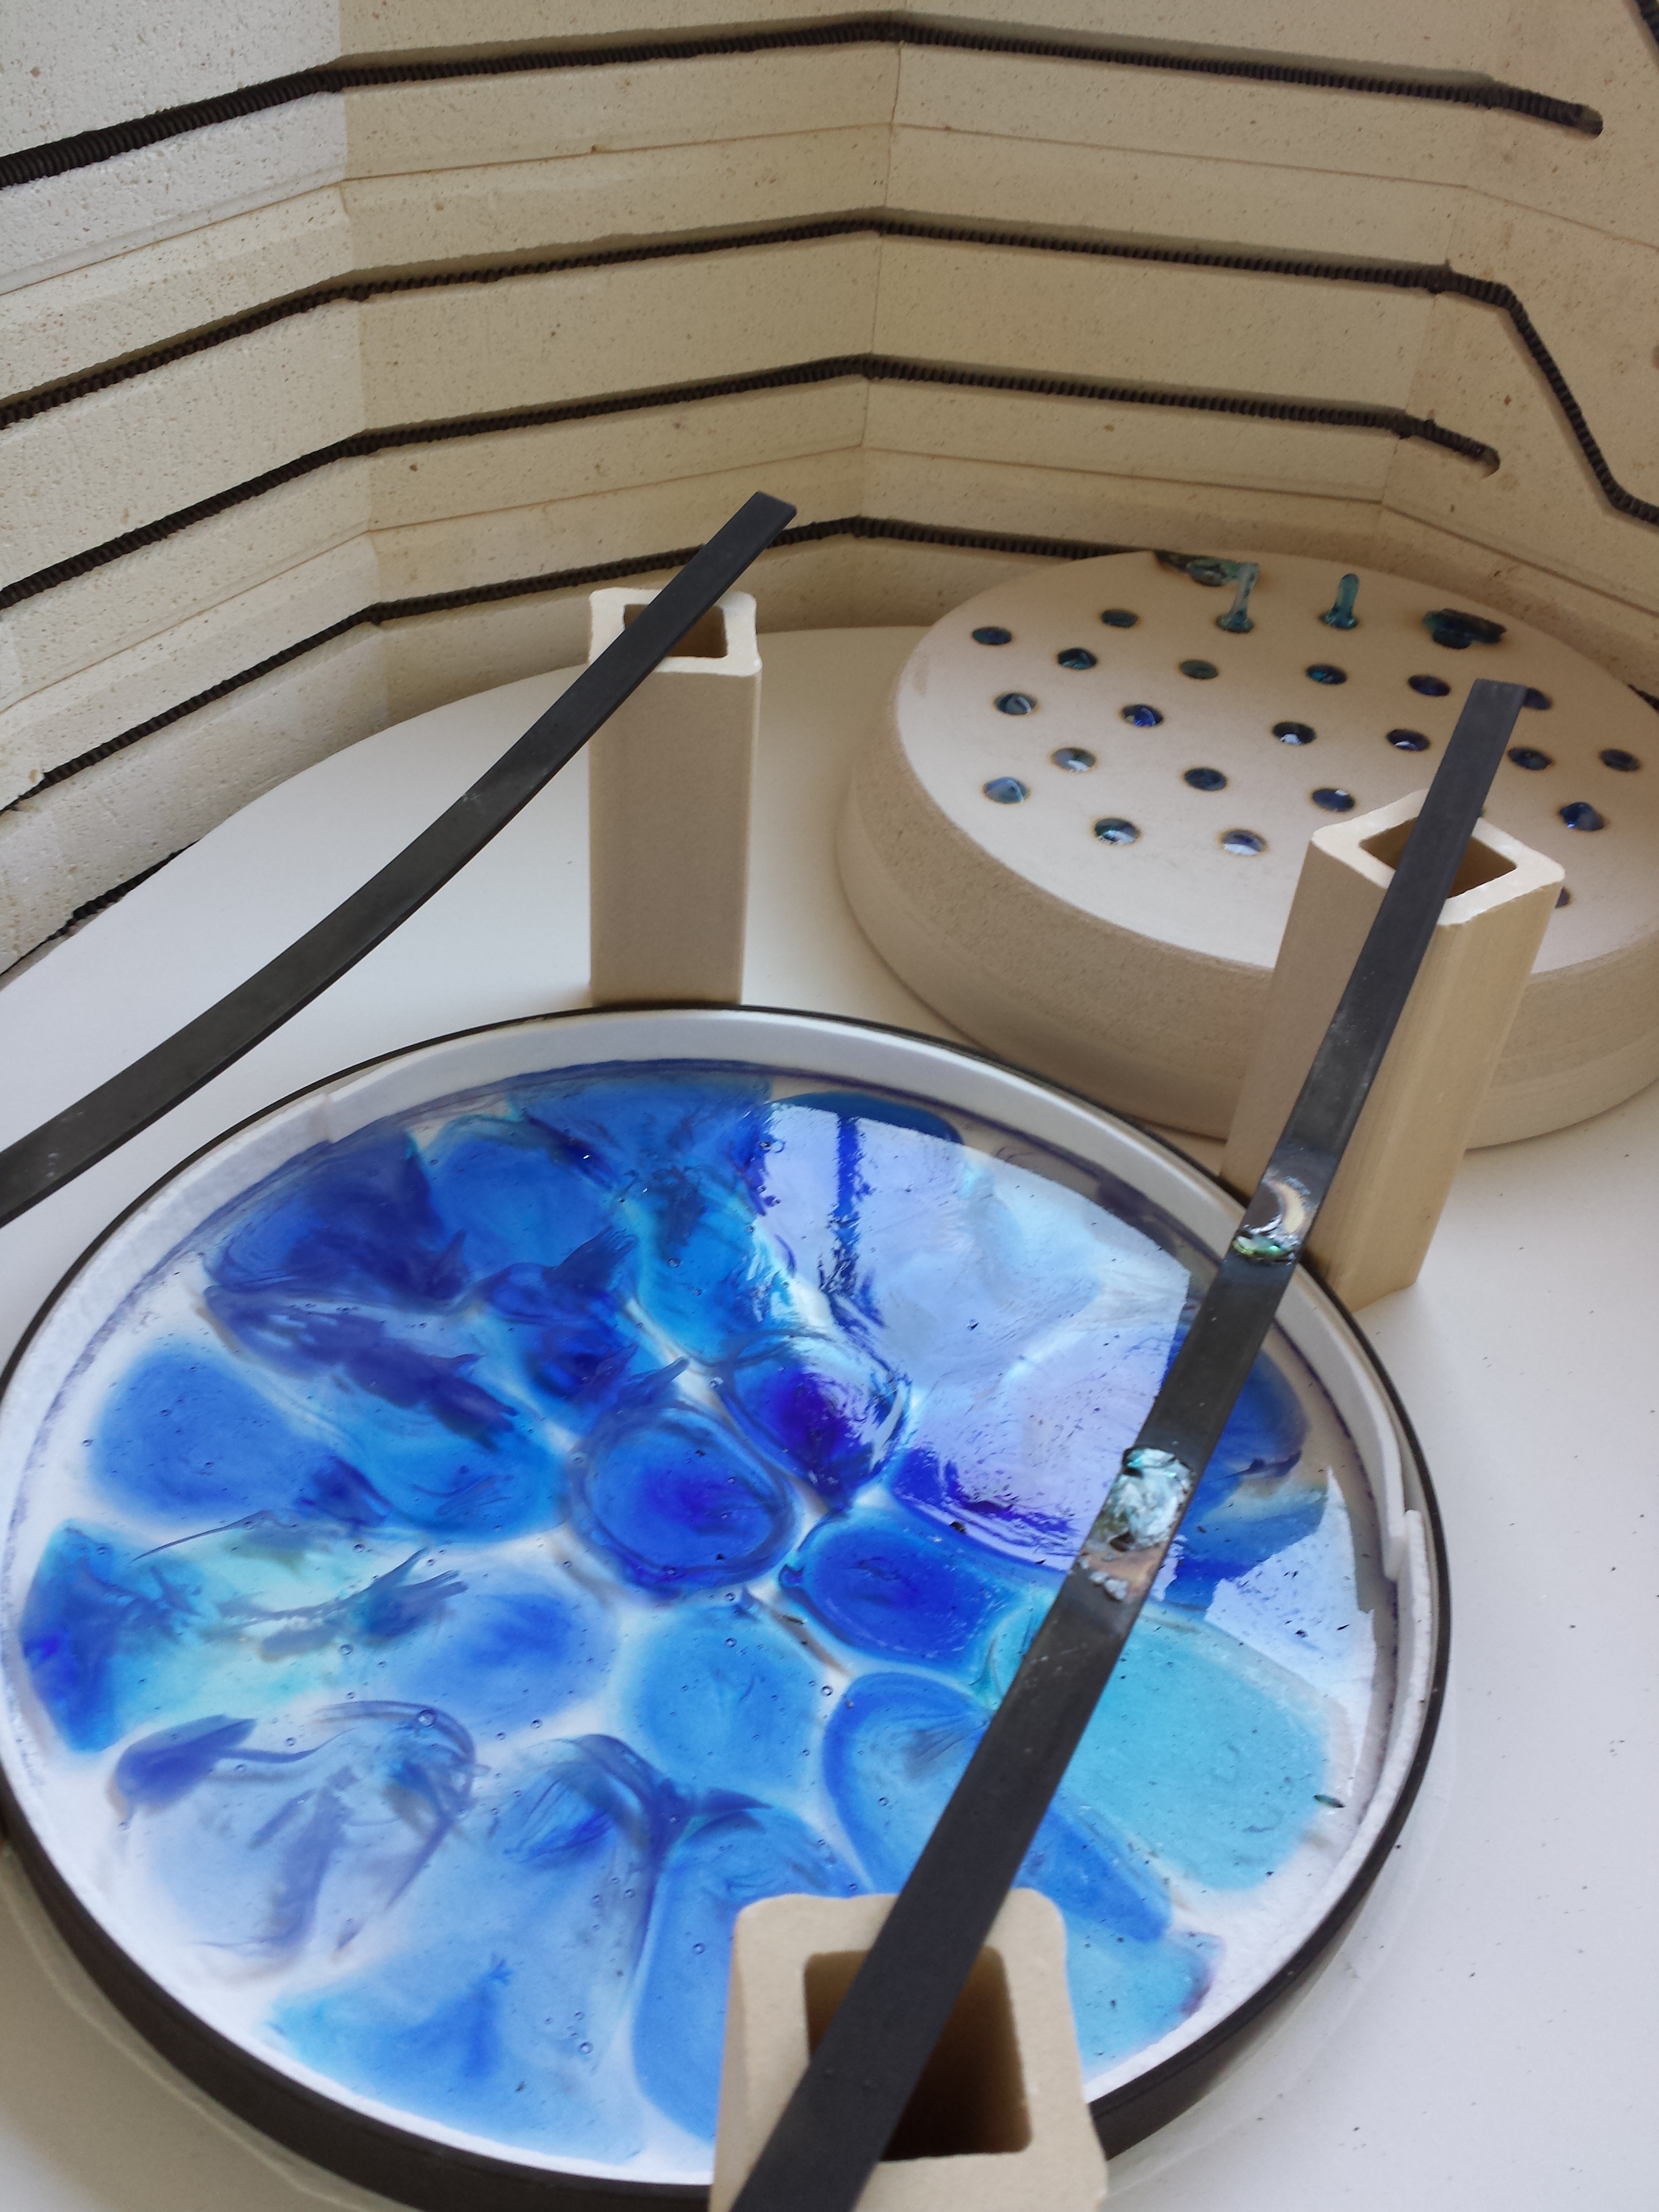
The glass was well settled with no rough spots at all.
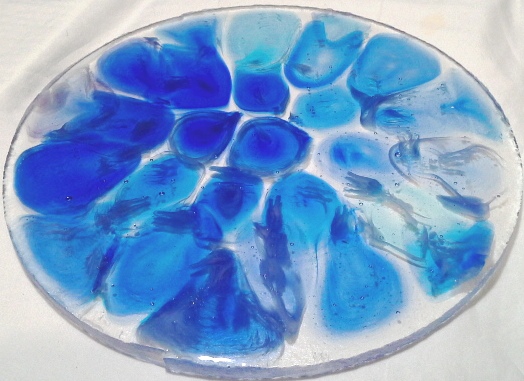
Holding it up to light shows too much clear was used. Next time, I will skip the 580g of clear and make it all color if any transparent glass is used.