Sign up now to make your own glass piece. Two dates in November are available. Saturday November 9th or Sunday the 10th. Both days 1pm to 4pm – light snacks will be served.
RSVP is required as space is limited.

https://www.facebook.com/RainpebblesGlass

New Jewelry Option Found

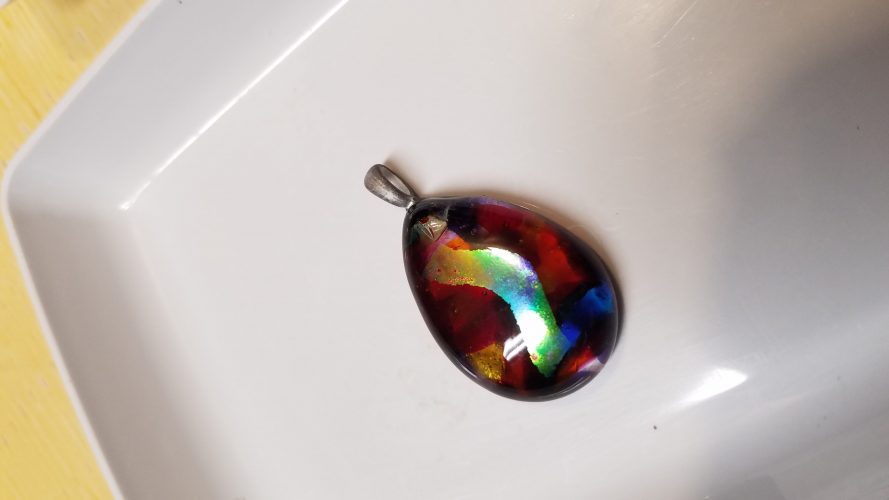
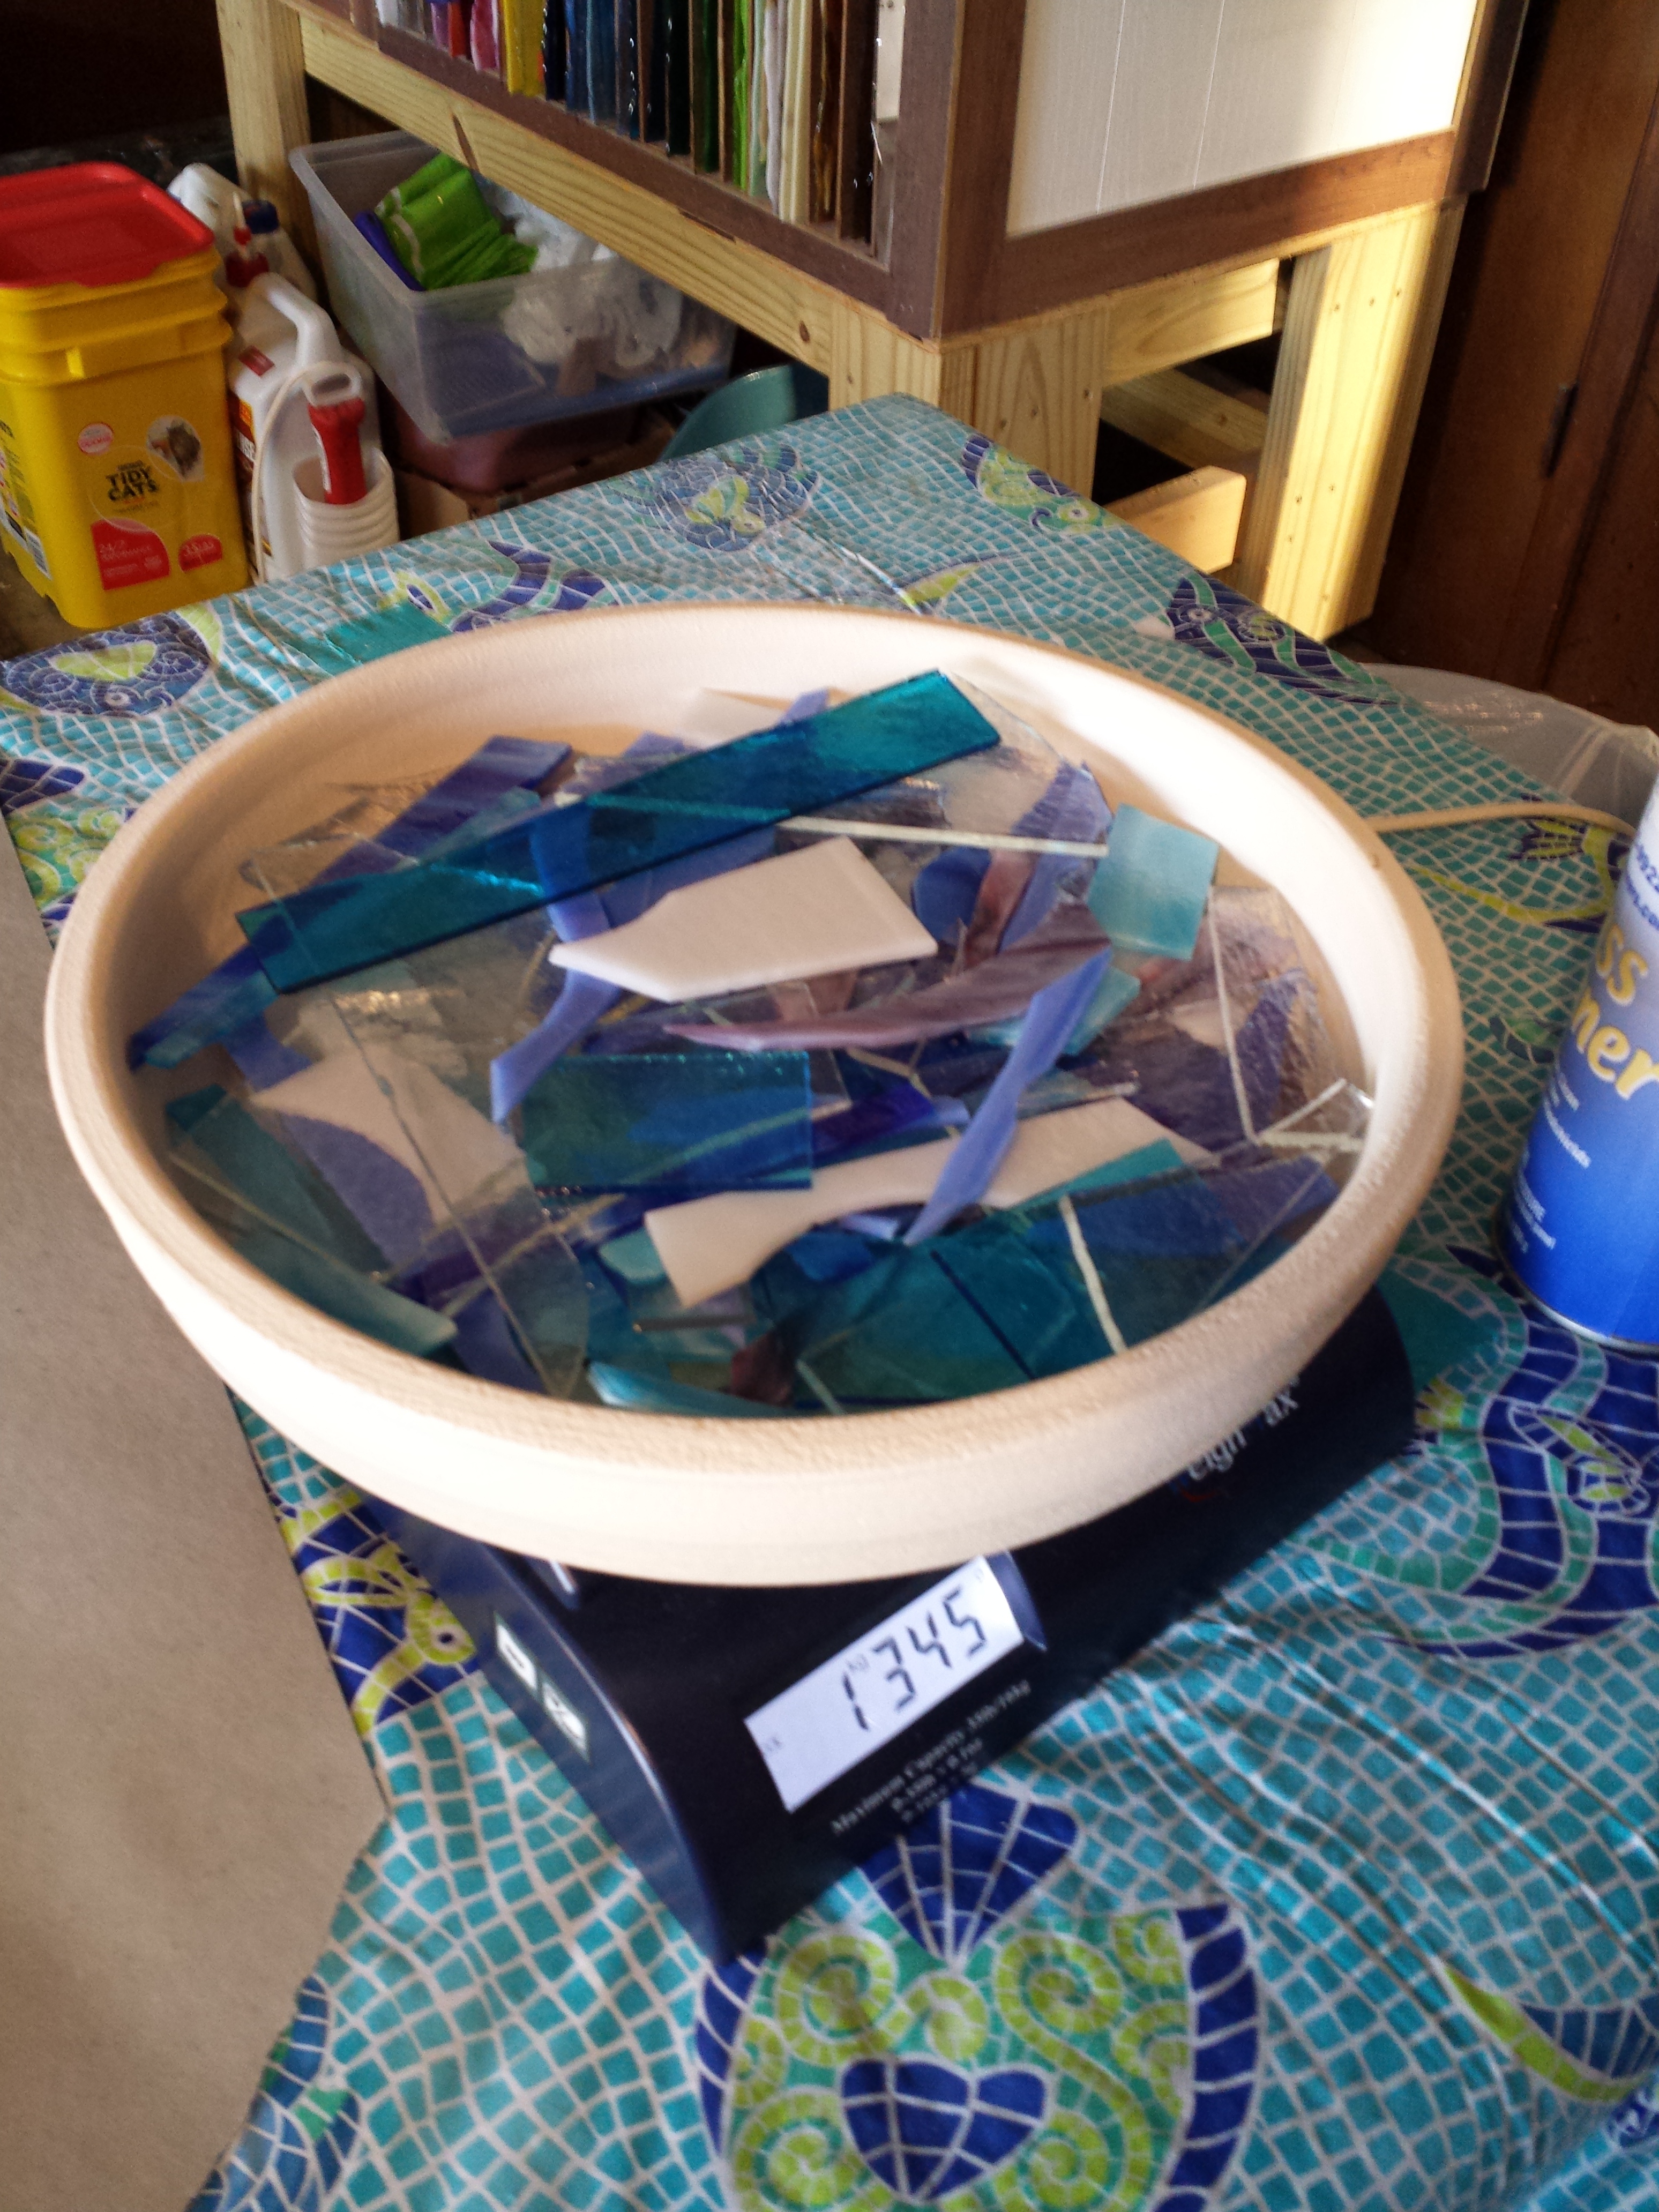
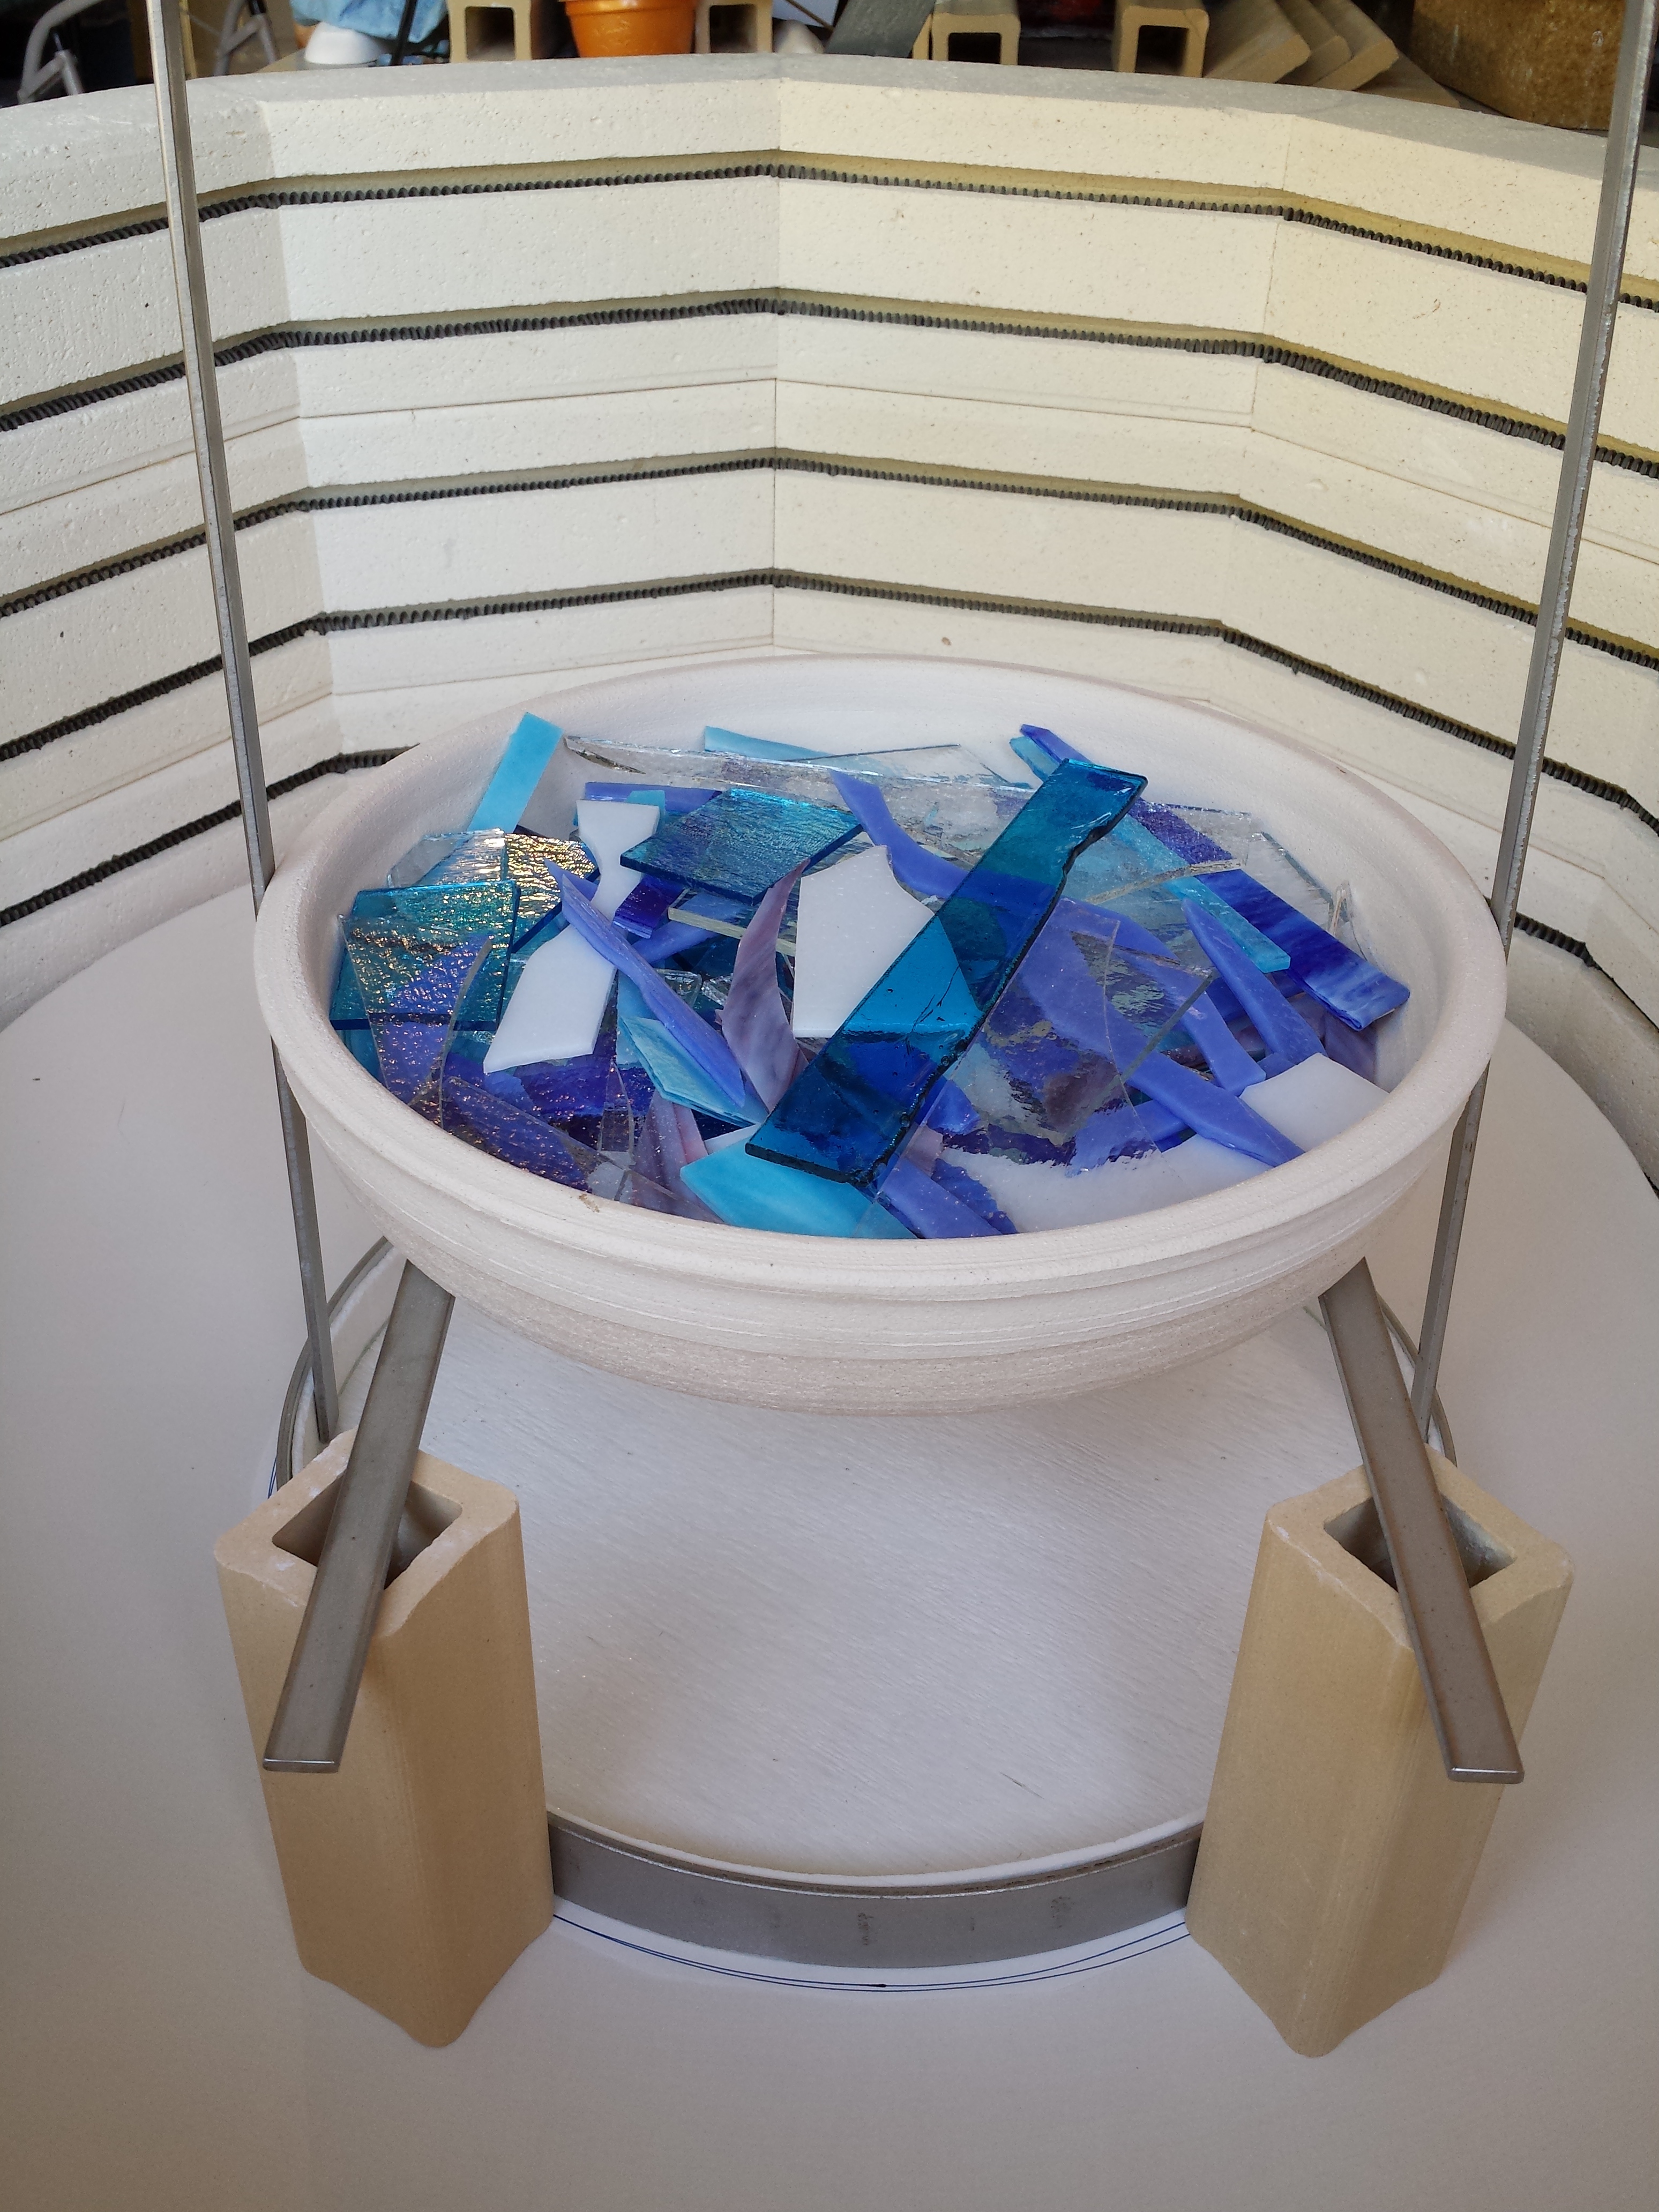
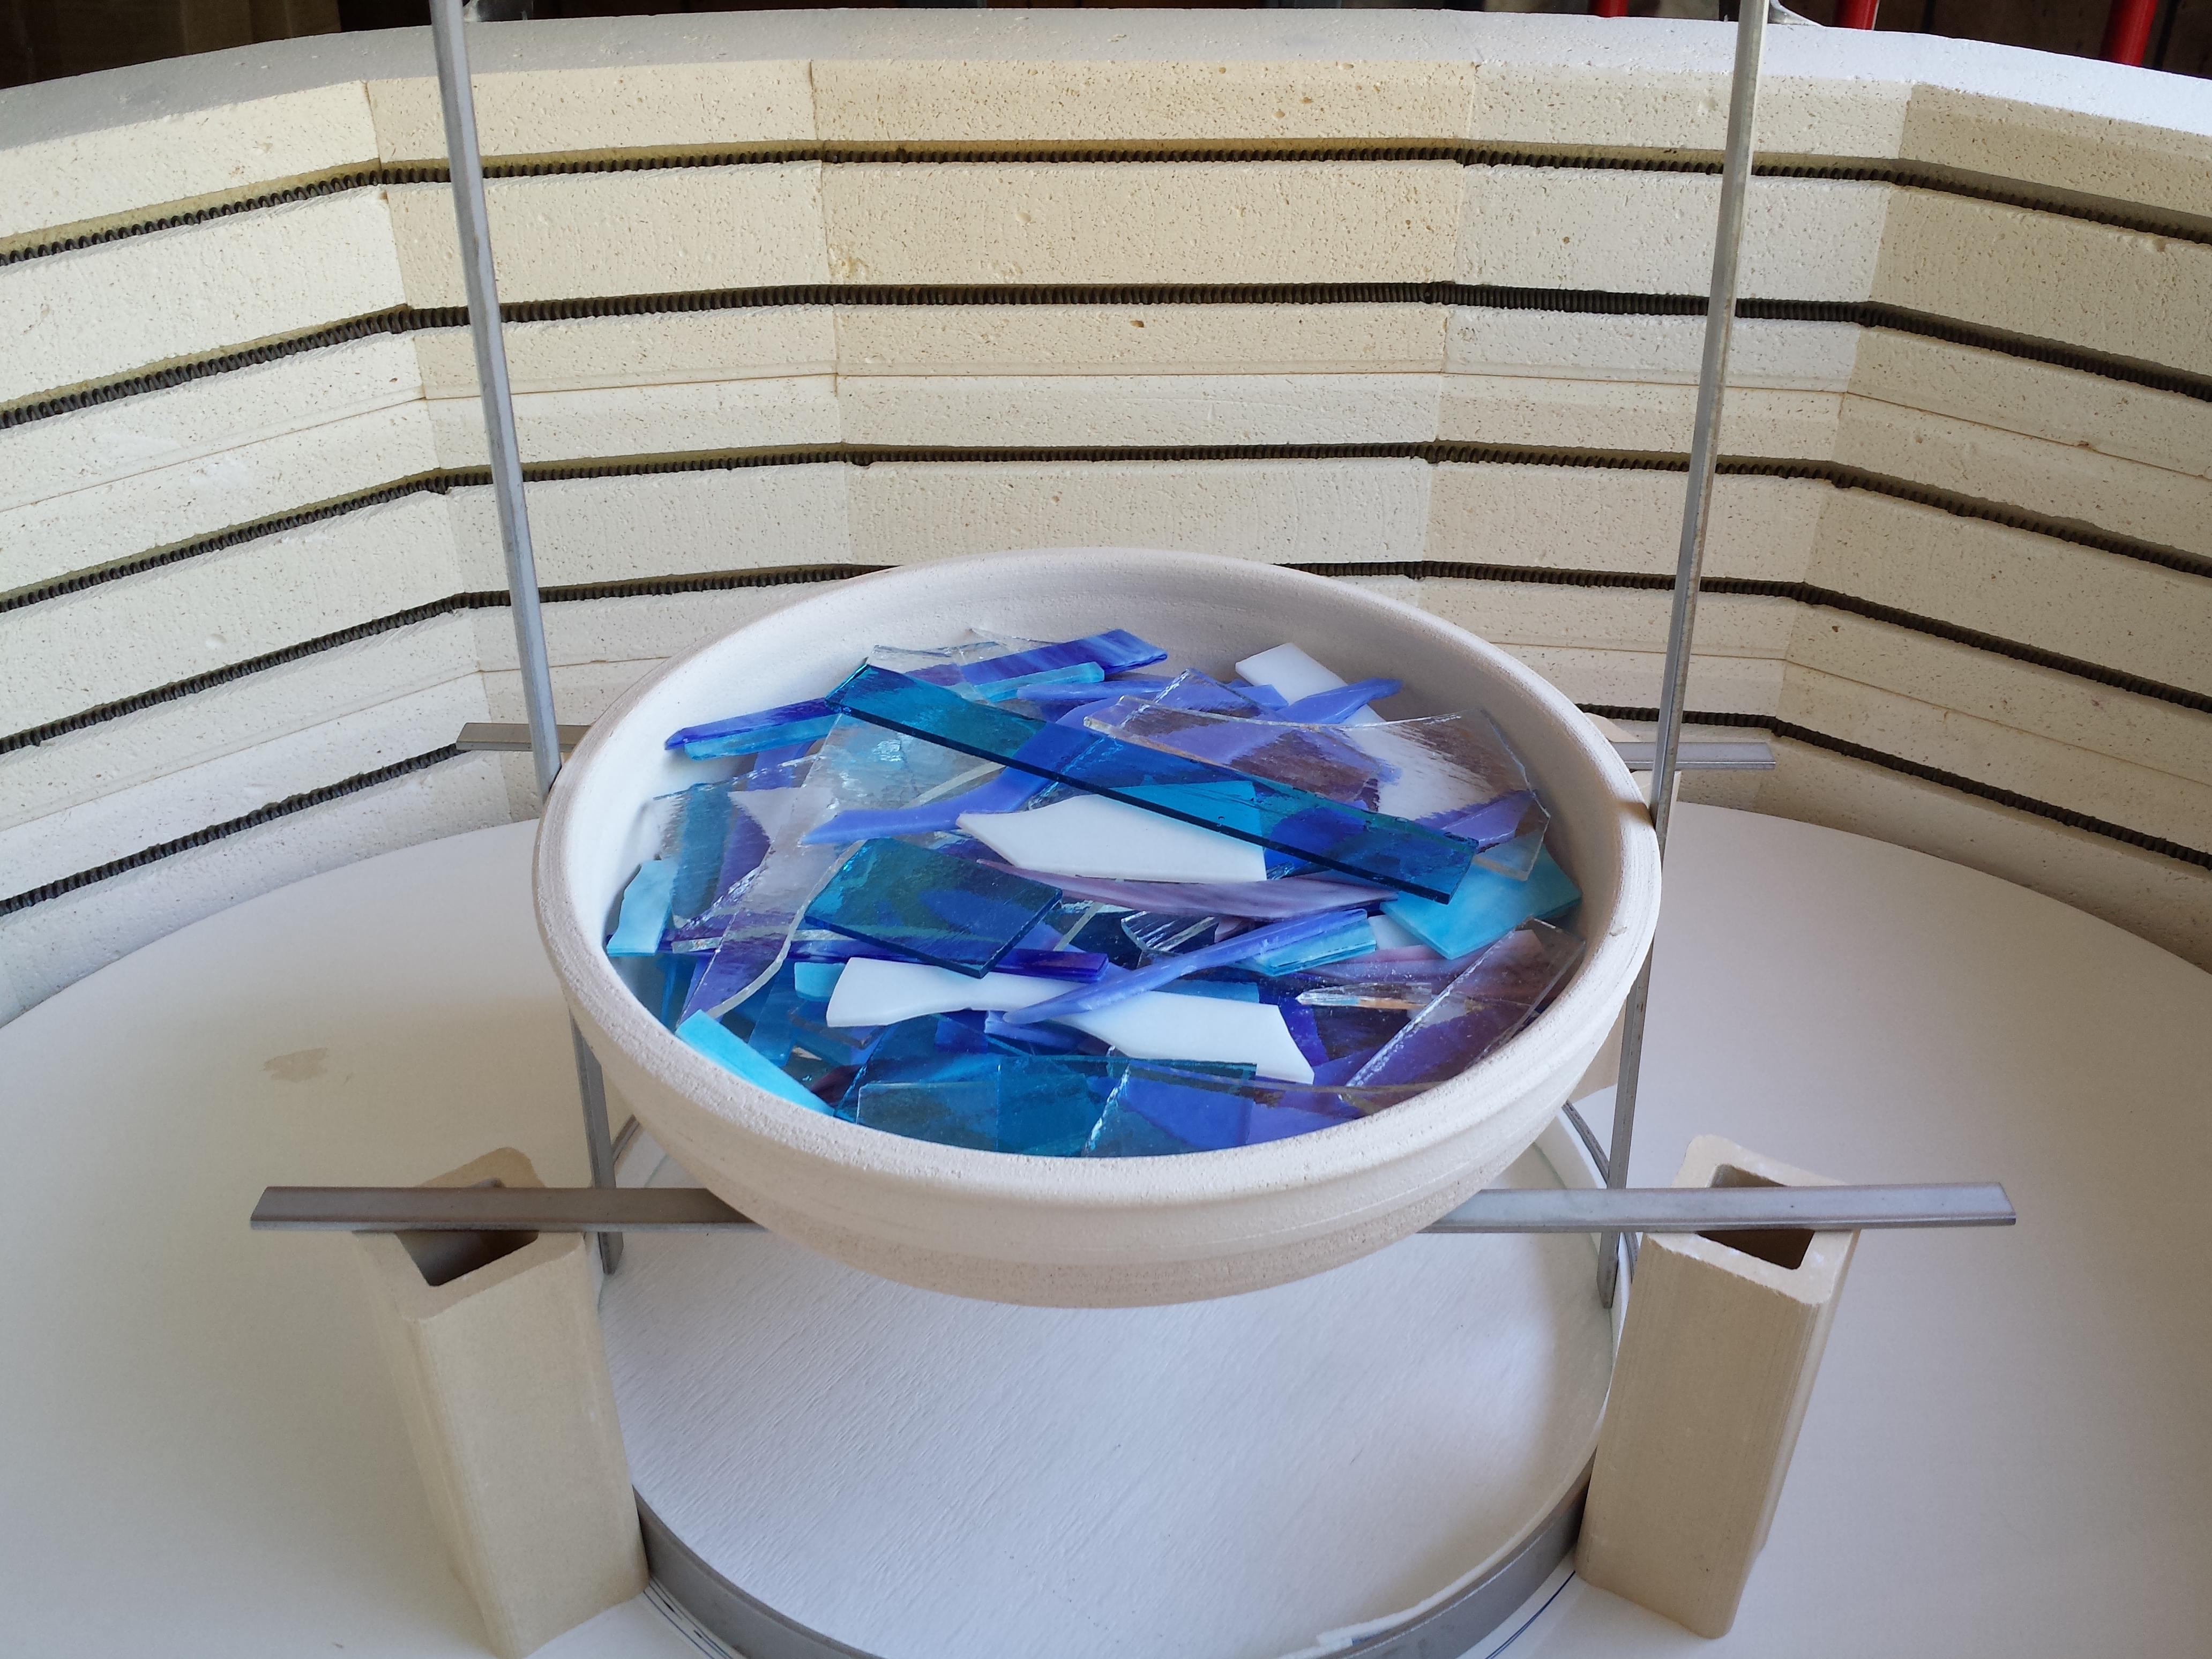
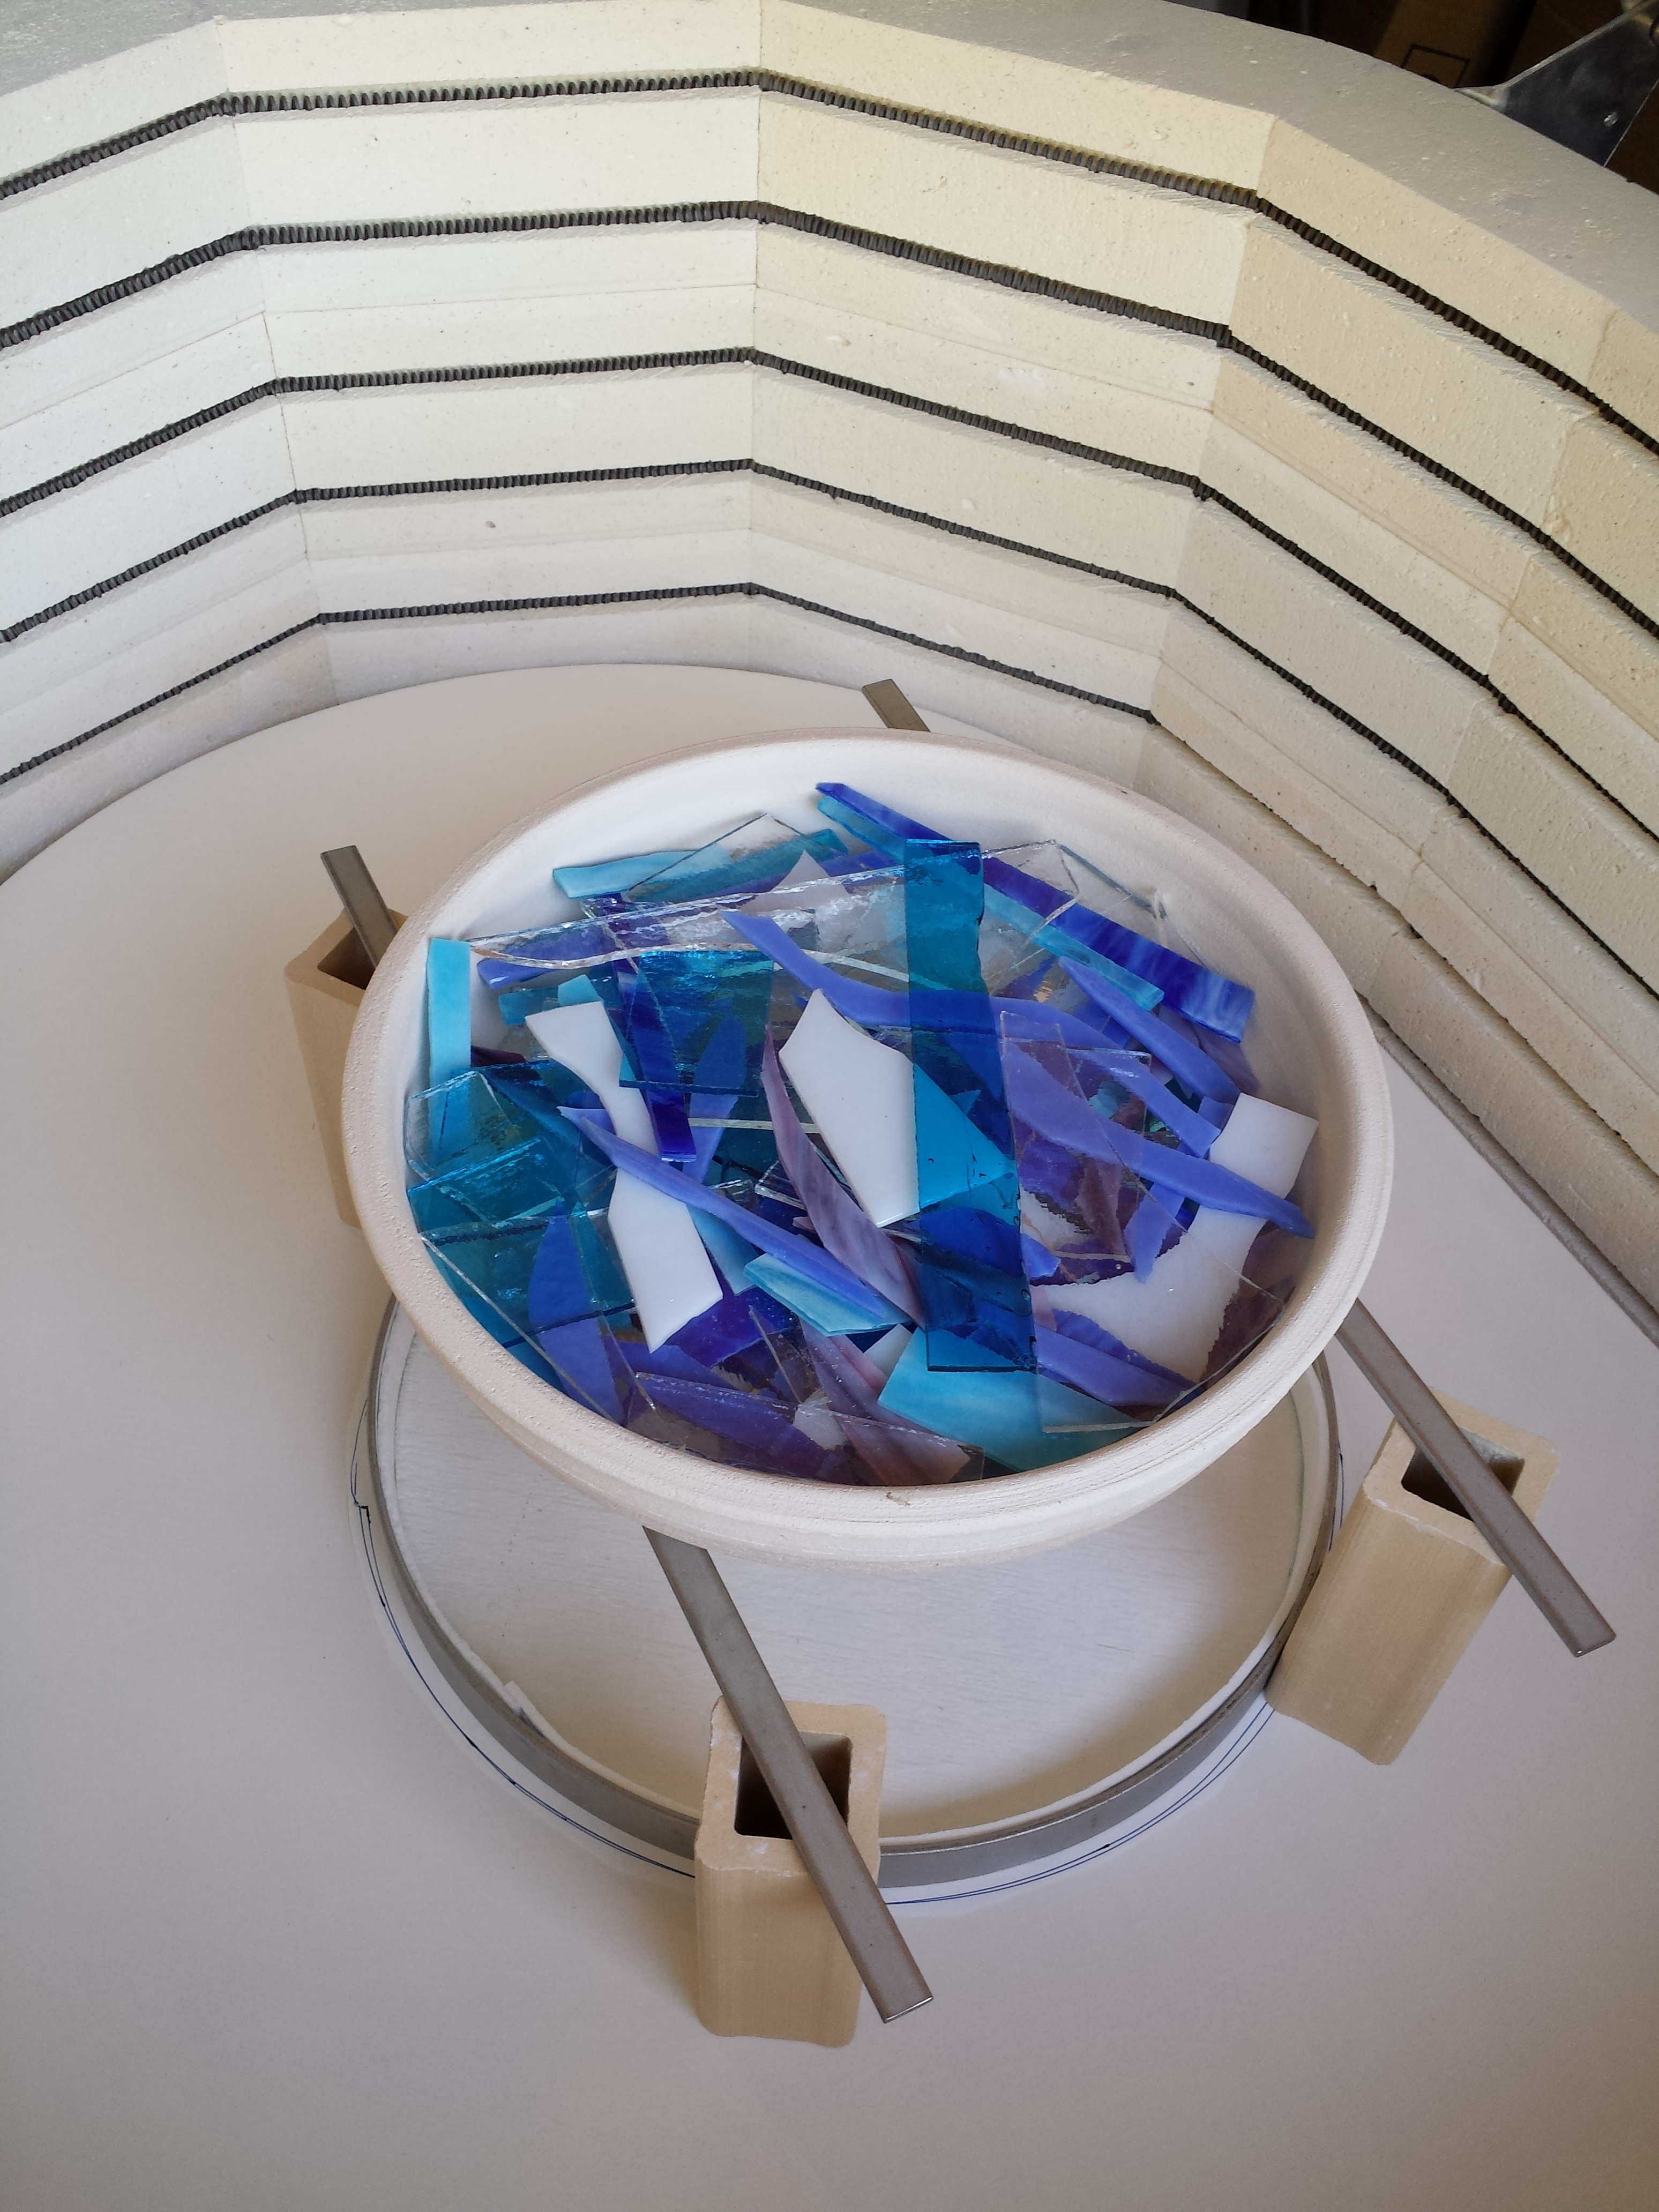
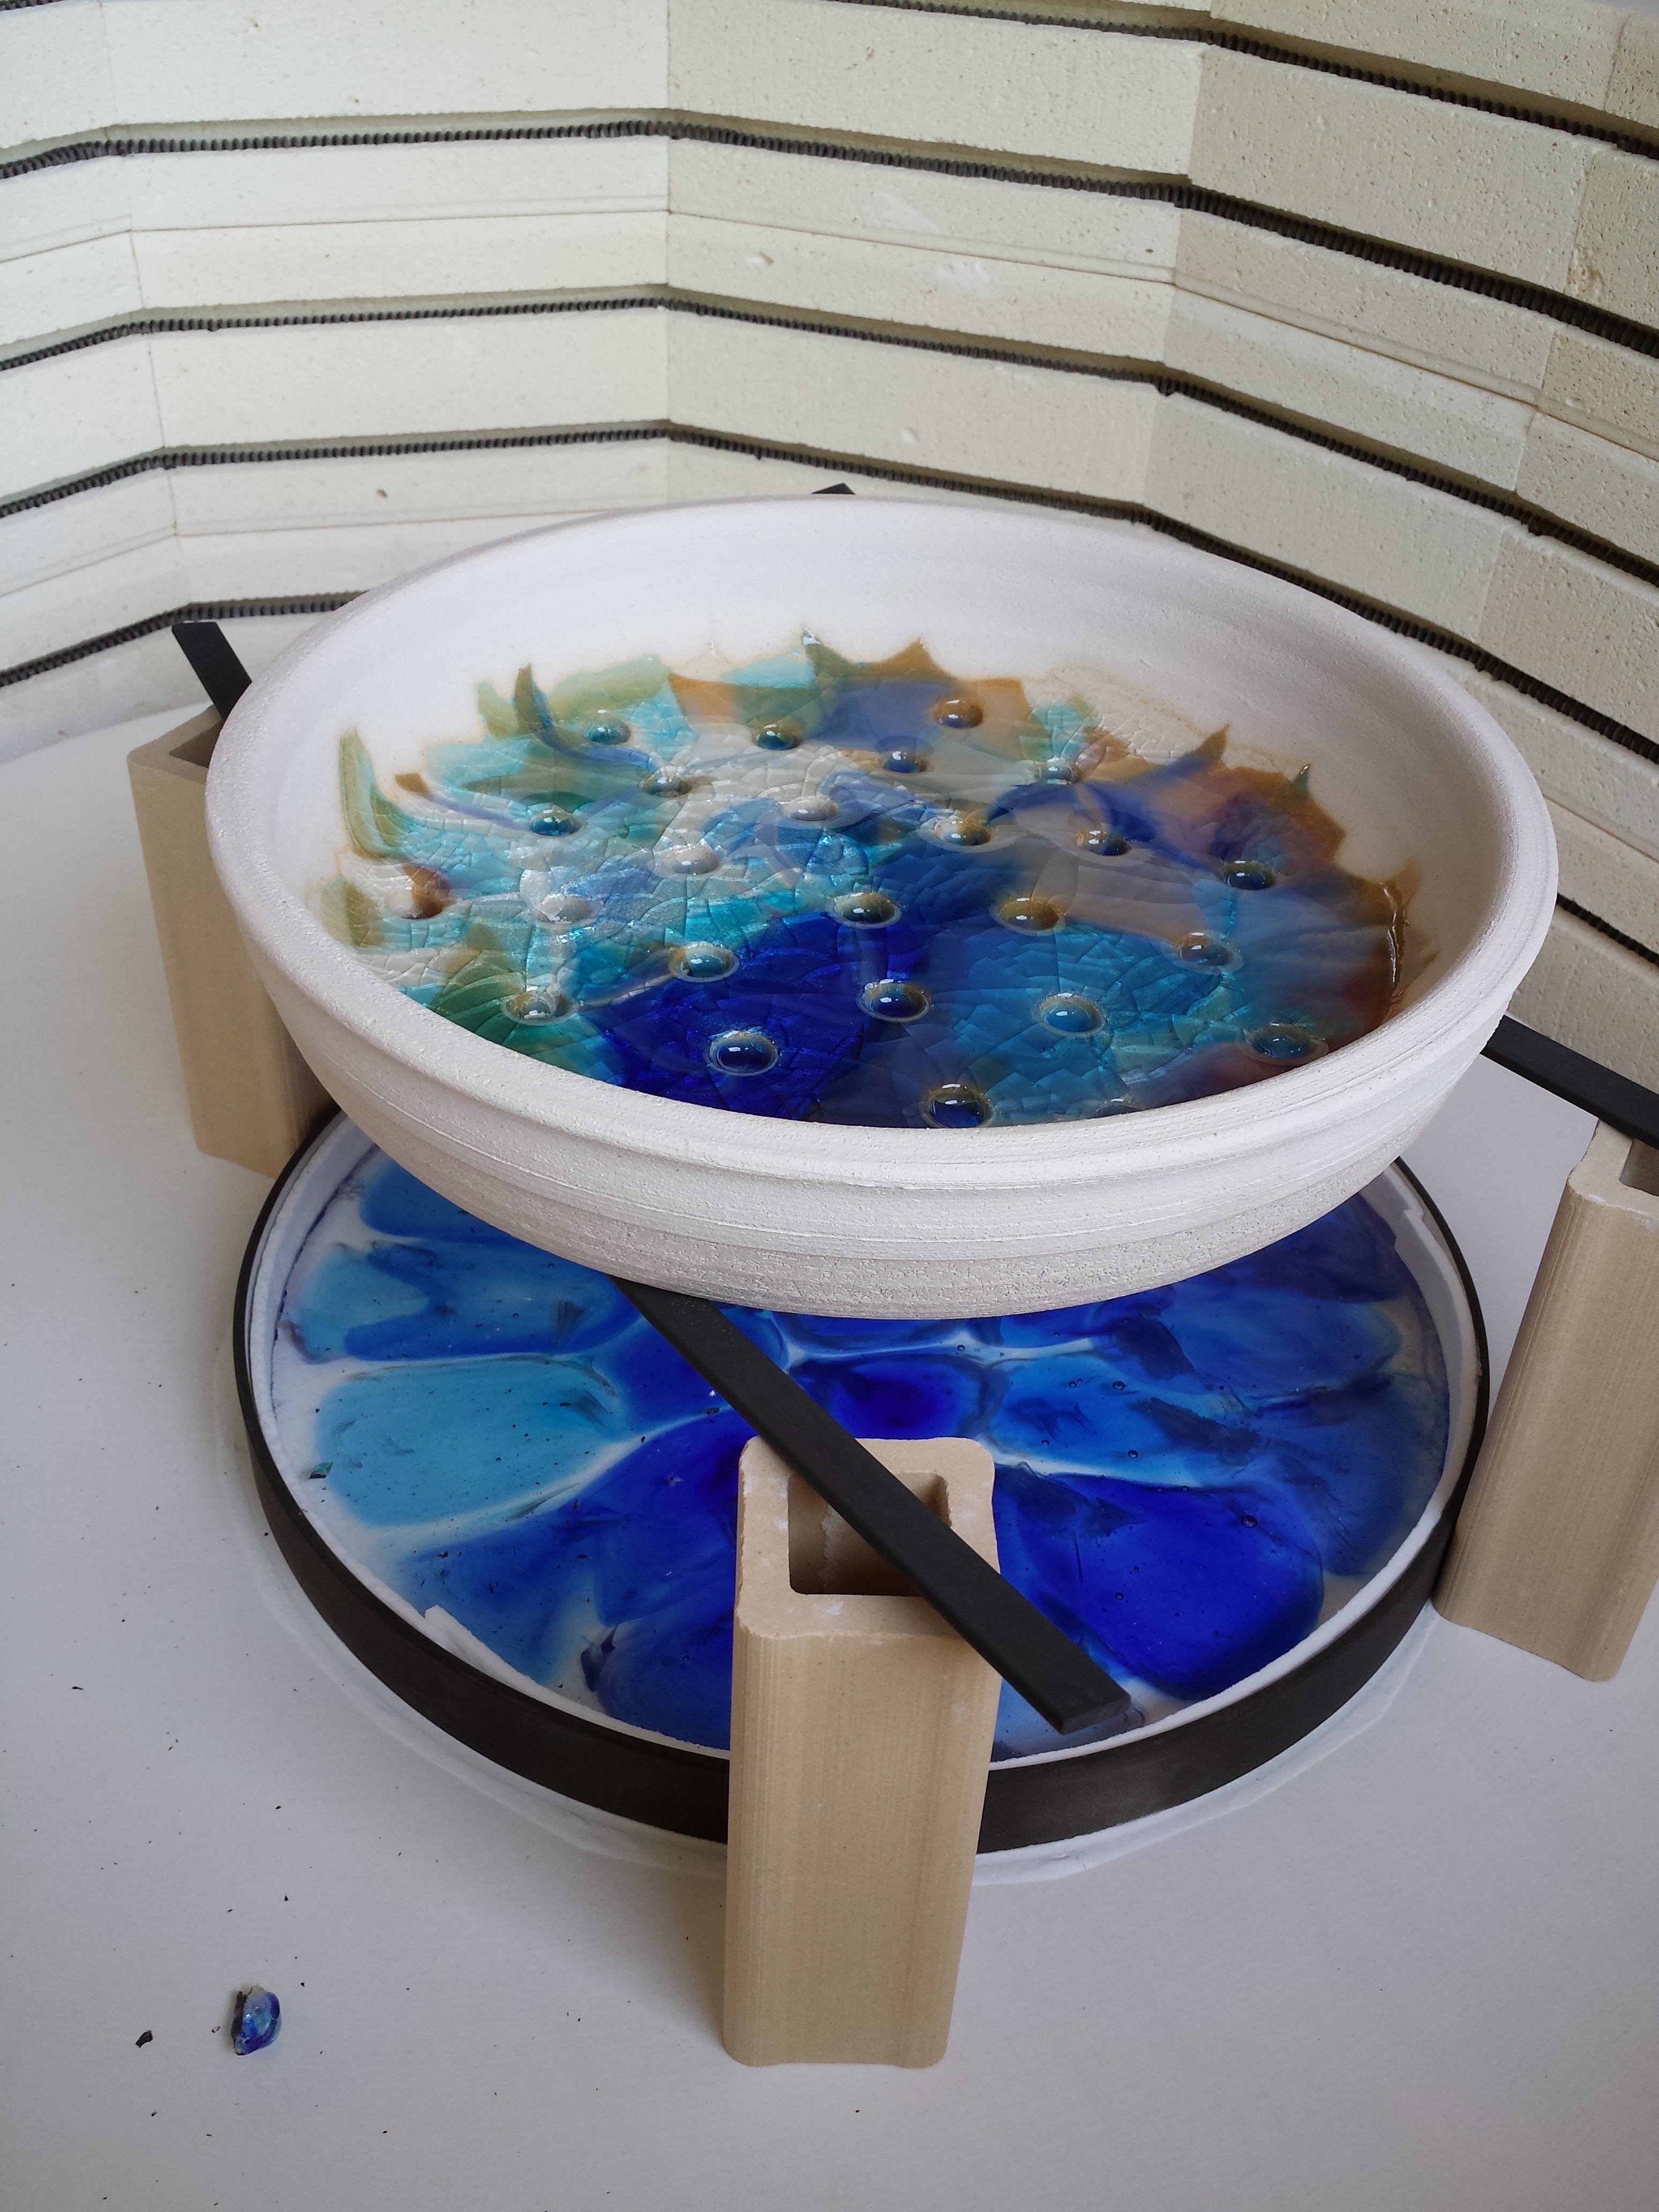
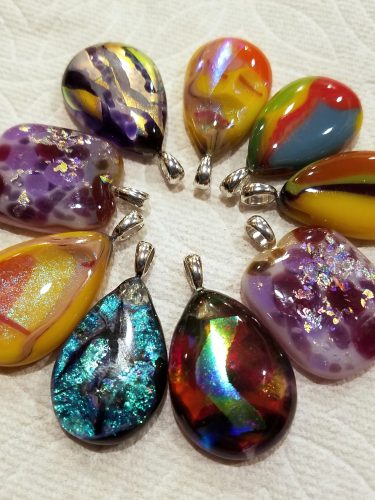
I tried a new product from Rio Grande called imbedables (new to me) and really like it, so thought I would share. These are fusible bails! This was a test, so they are not perfect, but now I know what to do differently the next time around.


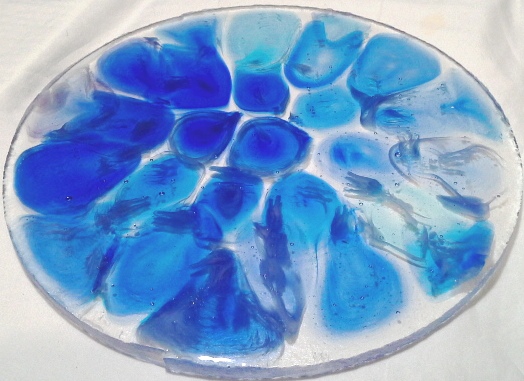
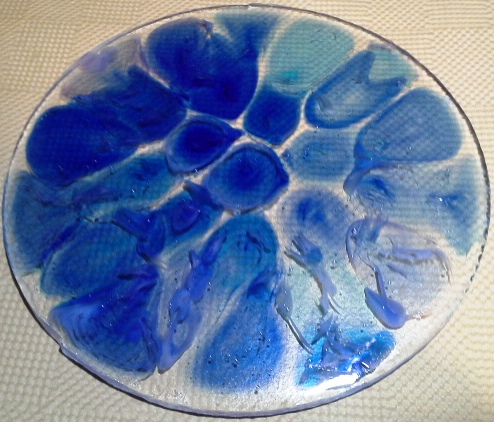
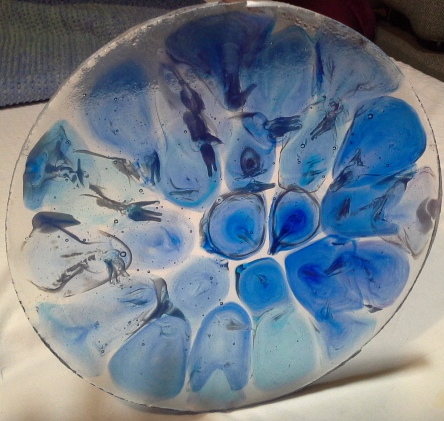
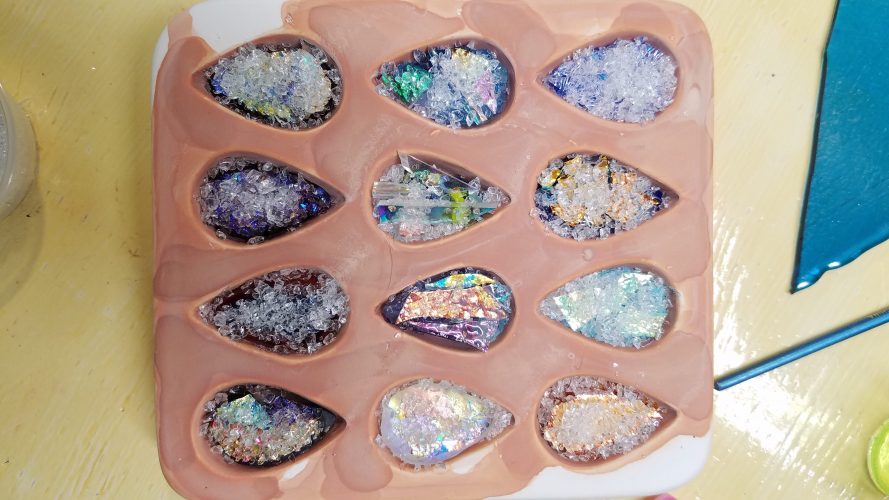
1 – I made cabochons in a mold, making them a bit on the thick side. (Some of them I used some old “pebbles” in the mold and added dichro). After taking out of the mold, I cleaned them up by grinding as needed and cleaning really well.


2 – using my ring saw I sliced into the tip of the glass, just deep enough for the full length of the bail. The square pieces I drilled with a dremel, but didn’t like the effort it took and the outcome – maybe a drill press would make it easier.


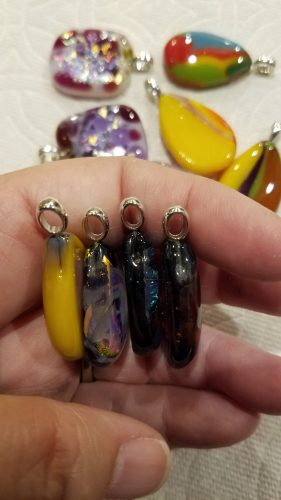
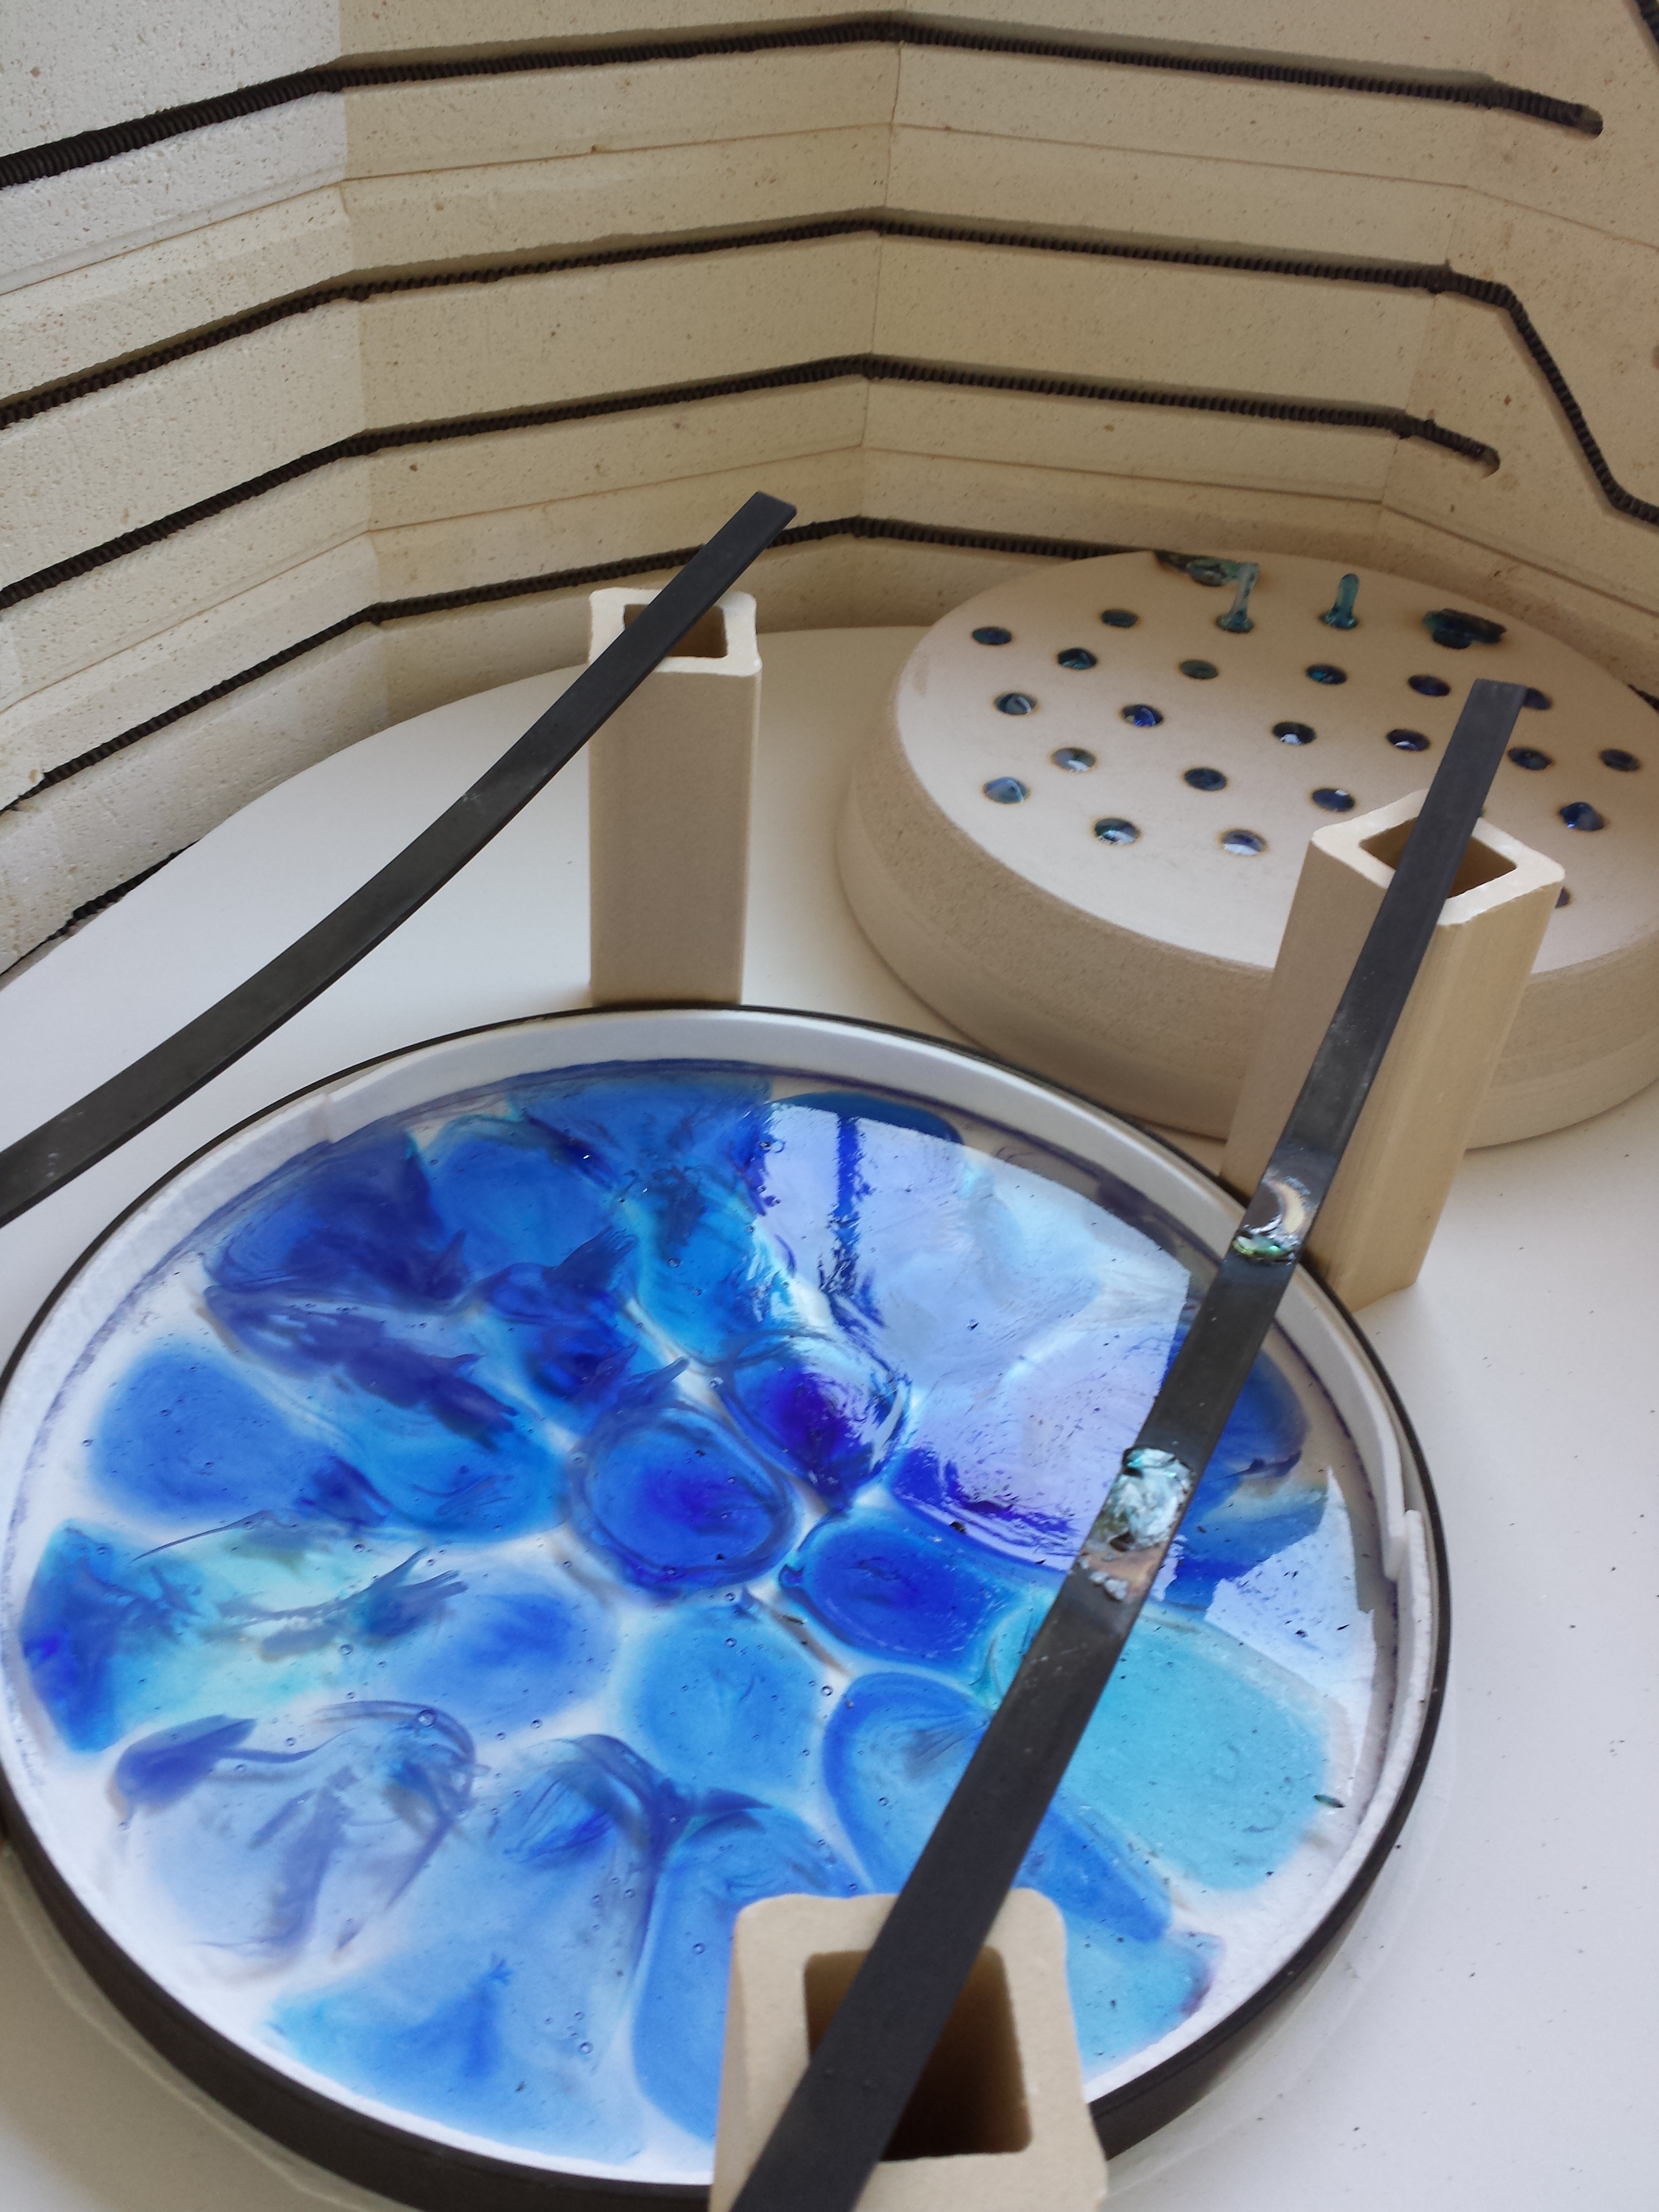
3 – Insert the bail using a dab of glue taking care to center and straighten the bail. Don’t do as I did and forget these are SILVER – which requires a dedicated shelf (oops).


4 – Fuse to close up the slice (or drilled hole) and fire polish. Next time I will go a few degrees hotter and hold a couple minutes longer as these didn’t quite fully close (close enough for a test). Maybe even add a few bits of frit on the sides of the cut.


5 – They will come out ugly, looking like a galvanized nail, but that is easily dealt with by 24 hours in a rock tumbler.

Mary’s Pot Melt Tutorial

With many thanks to Laurie Spray (http://bonnydoonfusedglasstools.com/) I have learned something new. I hope my experience can help someone else struggling to get started. The results on my first attempt are just acceptable, not great. But, now I know what I need to change the next time, which will be when I get around to pulling out the saw to cut strips from my broken kiln shelf.

Summary:

  • In my opinion, it’s just a tad too thick. The total weight used was 1345 grams of glass. I should have weighed the crucible first to know how much glass is left, but, there really isn’t all that much.
  • Next time I will try butting the edges of the thin fire (and backing the seam with a shot of MR97 just in case. Where the seam was, there is a significant dent that will need cold working, but that’s ok because the entire edge needs just a bit anyway.
  • The colors are too light. Next time I will omit the 580g of clear in favor of more color when transparents are used, and half the amount if all opalescent is used.

Material used:

Thin fire paper (cut ¼” larger than mold)

12” stainless steel ring mold

10” bubble pot melt crucible

2 stainless steel strips (used here)

2 strips of cut up kiln shelf (will use next time in place of ss strips)

4 kiln stilts

1” wide 1/8” thick fiber paper

Cut a piece of clear to fit snugly in the mold.
Start by cutting the fiber paper to fit the mold with a slight overlap at the seam(s) Place the mold in the kiln on top of the thin fire Add a disk of clear glass cut to fit. Here it was 12” (perfectly fit inside the mold) to start, but I had to grind it down about 1/8 inch to fit the ring with the fiber paper added. Weight of glass 580g.
Start by cutting the fiber paper to fit the mold with a slight overlap at the seam(s)
Place the mold in the kiln on top of the thin fire.
Add a disk of clear glass cut to fit. Here it was 12” (perfectly fit inside the mold) to start, but I had to grind it down about 1/8 inch to fit the ring with the fiber paper added.
Weight of glass 580g.
Next, place kiln posts around outside of the mold and place cut up kiln shelf strips across as shown with the stainless steel. In this first attempt, I used the ss strips, but, the heat combined with the weight bent them, so I won’t be using those anymore. But, they did work.
Next, place kiln posts around outside of the mold and place cut up kiln shelf strips across as shown with the stainless steel.
In this first attempt, I used the ss strips, but, the heat combined with the weight bent them, so I won’t be using those anymore. But, they did work.
Dry run. Make sure that your set up fits properly. In this shot you can see that the clear is already in the mold. Use the end of a tool (screwdriver, paint brush, etc.) to poke through the holes to make sure your support is not under any of the holes at the edge.
Dry run. Make sure that your set-up fits properly. In this shot you can see that the clear is already in the mold.
Use the end of a tool (screwdriver, paint brush, etc.) to poke through the holes to make sure your support is not under any of the holes at the edge.
Put crucible on the scale and zero it so you can weigh the glass.
I wanted to add clear to equal the same weight of the clear base – in this case 580 grams. In the next run, I will skip this step, but if you are using mostly opalescent glass, you might want to add this.
I wanted to add clear to equal the same weight of the clear base – in this case 580 grams.
In the next run, I will skip this step, but if you are using mostly opalescent glass, you might want to add this.
Measure out your color. In this melt I used: 145g – 243 white 145g – 1116 turquoise 145g – 2164 Caribbean Blue, White streaky 145g – 118 periwinkle 70g  – 3328 White, Deep Royal Purple streaky 115g – 3116 Clear, Turquoise Blue, White streaky The total of color was 1345grams
Measure out your color.
In this melt I used:
145g – 243 white
145g – 1116 turquoise
145g – 2164 Caribbean Blue, White streaky
145g – 118 periwinkle
70g – 3328 White, Deep Royal Purple streaky
115g – 3116 Clear, Turquoise Blue, White streaky
The total of color was 1345grams
Check in both directions to ensure it’s centered. Remove measuring devices before you close the kiln.
Check in both directions to ensure it’s centered.
Remove measuring devices before you close the kiln.
Check that your crucible is perfectly centered over your mold.  Here, I used stainless steel sticks to make sure both sides were equal.
Check that your crucible is perfectly centered over your mold.
Here, I used stainless steel sticks to make sure both sides were equal.
I used Laurie Spray’s firing schedule with my kiln and it worked quite well. The kiln used here is Olympic 2514GFE,  with RTC1000 controller. 250 degrees per hour to 1000  with no hold 450 dph to 1680 hold 90 minutes 9999 to 1520 hold 20 minutes 9999 to 900 hold 2 hours 100 to 800 hold 1 hour 50 to 700 hold 30 minutes off
I used Laurie Spray’s firing schedule with my kiln and it worked quite well.
The kiln used here is Olympic 2514GFE, with RTC1000 controller.
250 degrees per hour to 1000 with no hold
450 dph to 1680 hold 90 minutes
9999 to 1520 hold 20 minutes
9999 to 900 hold 2 hours
100 dph to 800 hold 1 hour
50 dph to 700 hold 30 minutes
off
There isn’t much glass left. Notice the tan/gold glass on the top right? I didn’t use any of that color! It had to be a reaction between one of the pinks and one of the turquoise or blues, but it didn’t affect the final product, there is none of that color in the melt. But, use this as a cautionary tale; don’t use glasses that could have a reaction with each other.
There isn’t much glass left. Notice the tan/gold glass on the top right? I didn’t use any of that color! It had to be a reaction between one of the pinks and one of the turquoise or blues, but it didn’t affect the final product, there is none of that color in the melt.
But, use this as a cautionary tale; don’t use glasses that could have a reaction with each other.
Here you see the results of the melt, still in the ring with the crucible removed. Notice that two holes were partially blocked and two had ½” drips. The drips were well rounded at the ends and a long way from detaching. The glass was well settled with no rough spots at all.
Here you see the results of the melt, still in the ring with the crucible removed. Notice that two holes were partially blocked and two had ½” drips. The drips were well rounded at the ends and a long way from detaching.
The glass was well settled with no rough spots at all.
Against white, it’s great. Holding it up to light shows too much clear was used. Next time, I will skip the 580g of clear and make it all color if any transparent glass is used.
Against white, it’s great.
Holding it up to light shows too much clear was used. Next time, I will skip the 580g of clear and make it all color if any transparent glass is used.
The final thickness is 5/16” or just a hair under 8mm.
Where did the white go? The only evidence of white is the whispy gray throughout.
Where did the white go? The only evidence of white is the wispy gray throughout.

Fall 2014 Glass Classes!

GLASS CLASS!!
We will hold Fall Glass Class on the following Sundays:
November 2nd, 9th, 16th 2.00 – 5.00 pm
Space for up to 6 people per class. Please wear comfortable clothing with NO open-toed shoes (yes, there is glass in this class…).
Cost is $60 per person, this will include glass to make 1 glass dish (12″ x 12″ or smaller) and up to 3 small glass ornaments. For larger more elaborate pieces, glass will be charged additionally at cost.
Please send reservation requests to Mary either here on Facebook or to mary@rainpebblesglass.com

UPDATE – November 16th has 2 places left, November 2nd and 9th still have 5 places left.

Last Glass Class for 2013!

A reminder that our last Glass Class for 2013 is scheduled for this Sunday, December 8th. We have 4 places available. Contact us via Facebook (see Rainpebbles Glass) or by sending an email to mary@rainpebblesglass.com.

Glass Class Dates – Fall 2013

We still have vacancies in Fall Glass class as follows:

November 24th    2.00 – 5.00 pm      Vacancies:   3

December 8th      2.00 – 5.00 pm       Vacancies: 4

We can also do classes in the evening in the week by prior arrangement, for people who absolutely cannot get away on the weekend. The cost of Glass Class is $60 per person, which covers the education, glass enhancers (frit, stringers etc.) and two firing cycles. You can buy the glass for the pieces at cost from us, or buy it at Art Glass City in Lewisville (no, we are not getting a percentage…they sell the same specification glass that we use, which is essential for good results).

Please wear close-toed shoes at all Glass Classes. This is just in case a glass mishap occurs. At this time, we have not managed to invent glass that bounces on terra firma instead of breaking.

Hello Again!

Several months ago I received an email from someone informing me that my website had major issues. After quite a bit of time looking into the issue, my husband discovered that for unknown reasons all around, Blue Host lost every bit of my website. All the photos – gone. All my blog postings – gone. Hours spend creating the website, gone, gone, gone.

Thanks mostly to my wonderfully computer & blog literate husband, I am back to writing to the cloud for anyone to read. In my hiatus I wrote and posted on Facebook – https://www.facebook.com/pages/Rainpebbles-Glass/131452103609500 – and I certainly will continue posting there – but for those without a Facebook page, you can see what I am up to here at Worldpress. =)

So far, I am liking the usability of this blog MUCH better than blue host. Time will tell, but we’re off to a great start.